

SERVICING – Ambassadeur 2500C
We were out fishing at the mangrove-lined river of Sg Mamam, and as usual, we’d go as far upstream as we can in the inflatable and start drifting downstream, casting at likely structure we drift to. On this trip, my friend produced this beautiful Ambassadeur 2500C but it sounded more like a pepper grinder than a reel and proceeded to cast without much success unless the lure was a heavy one.
After the trip, I brought the reel home to find out what ails it and I took some pics along the way.
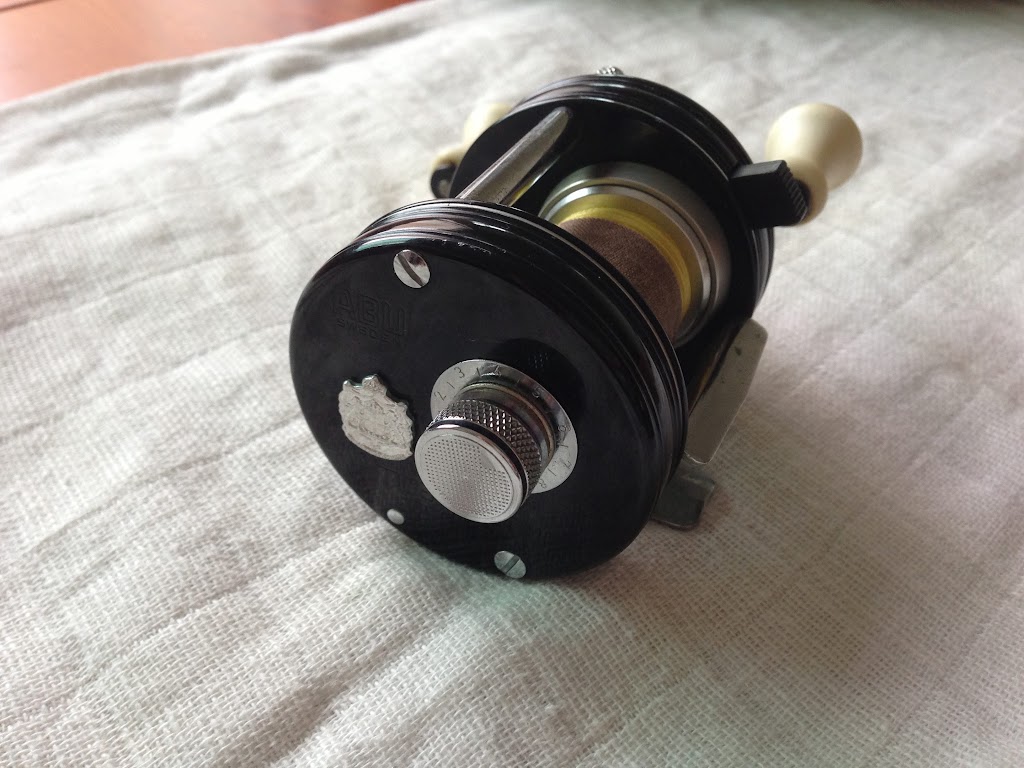
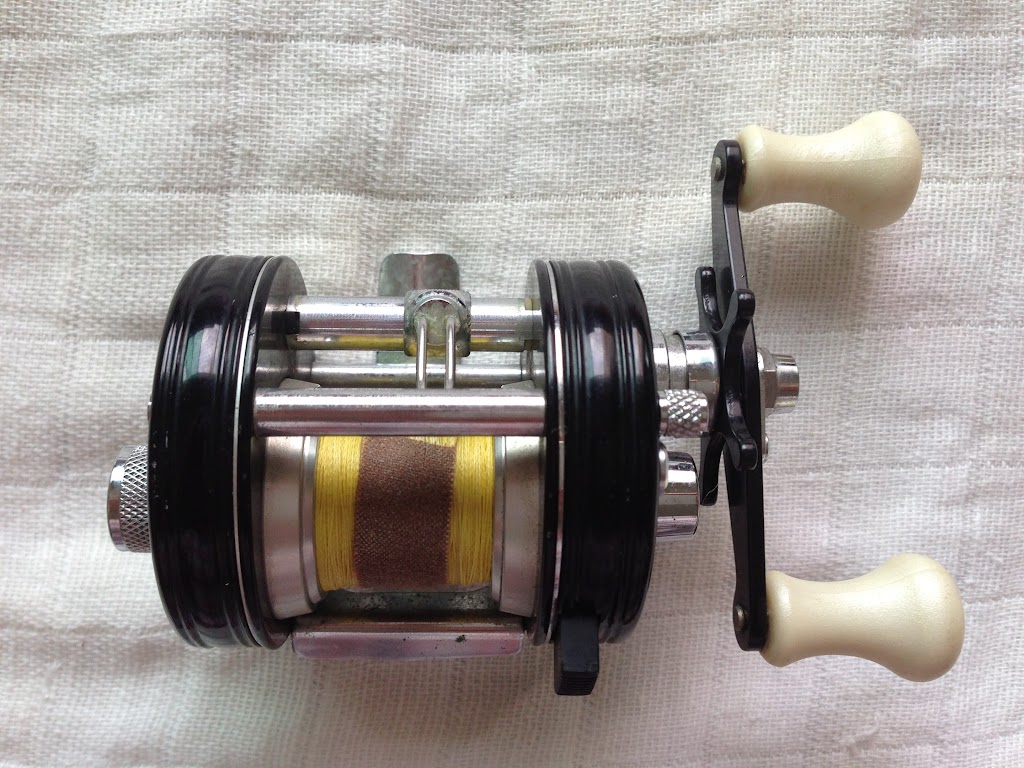
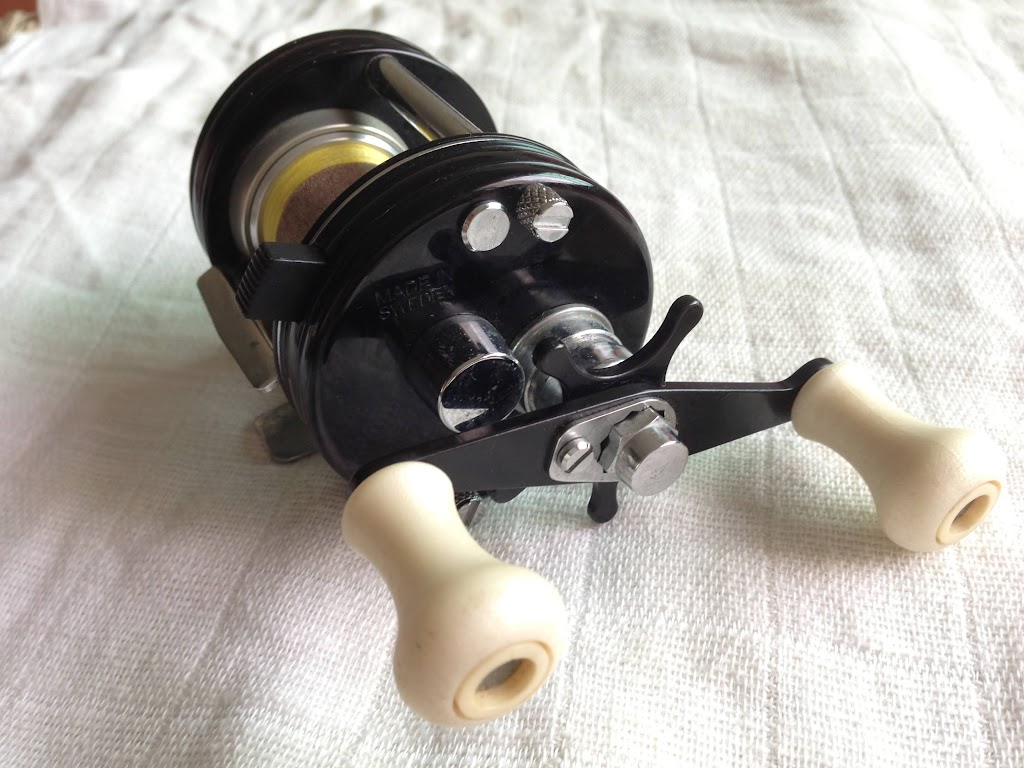
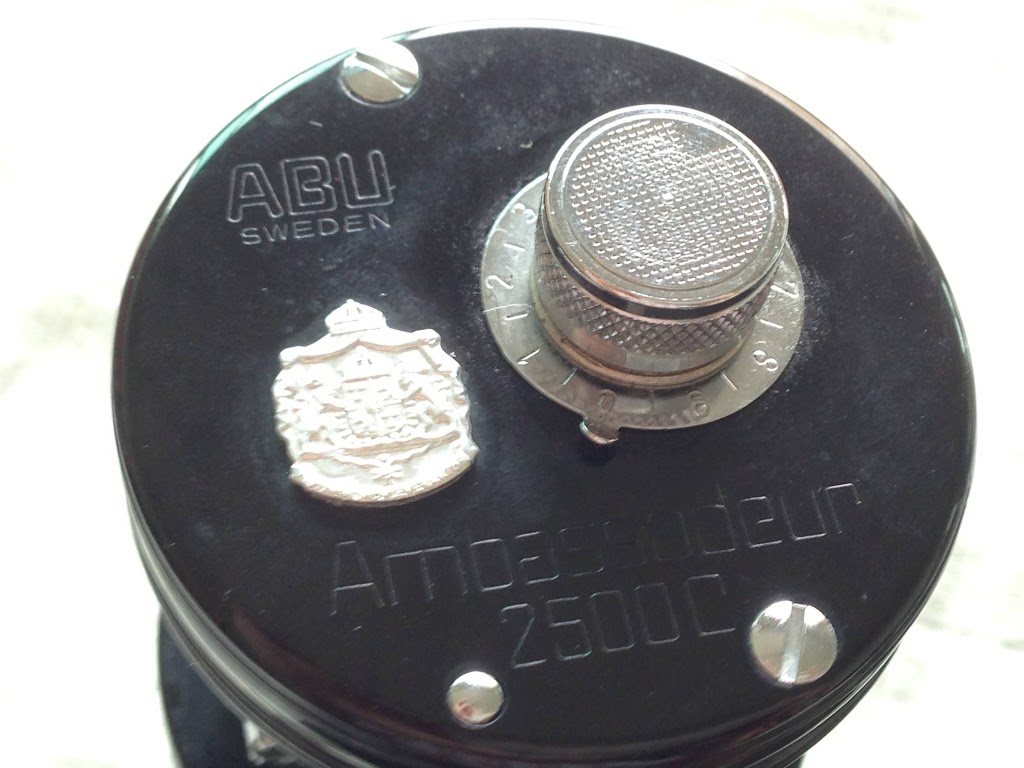
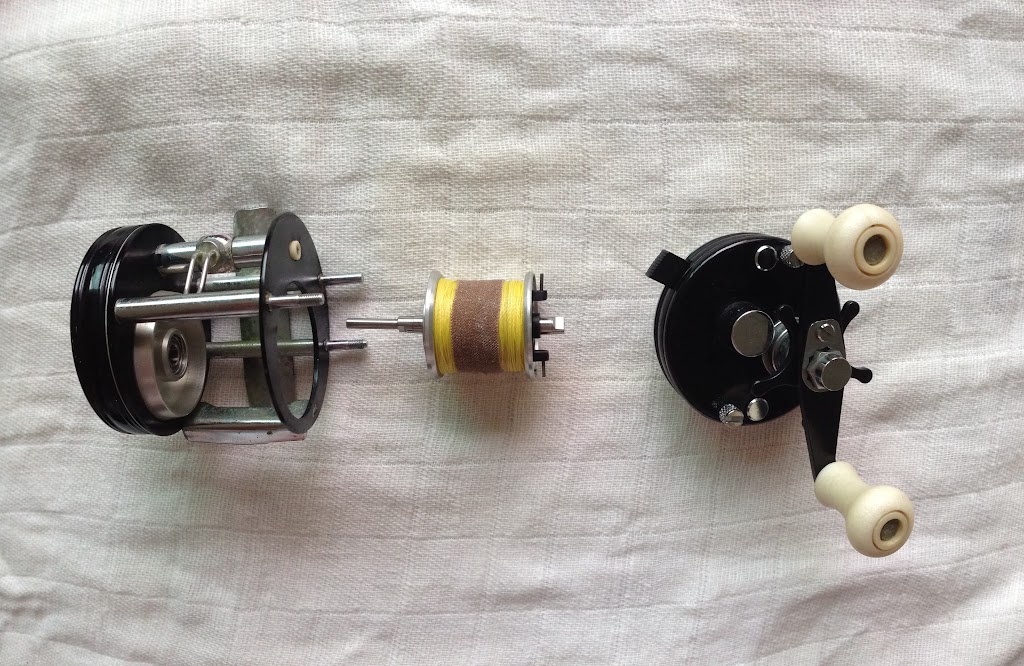
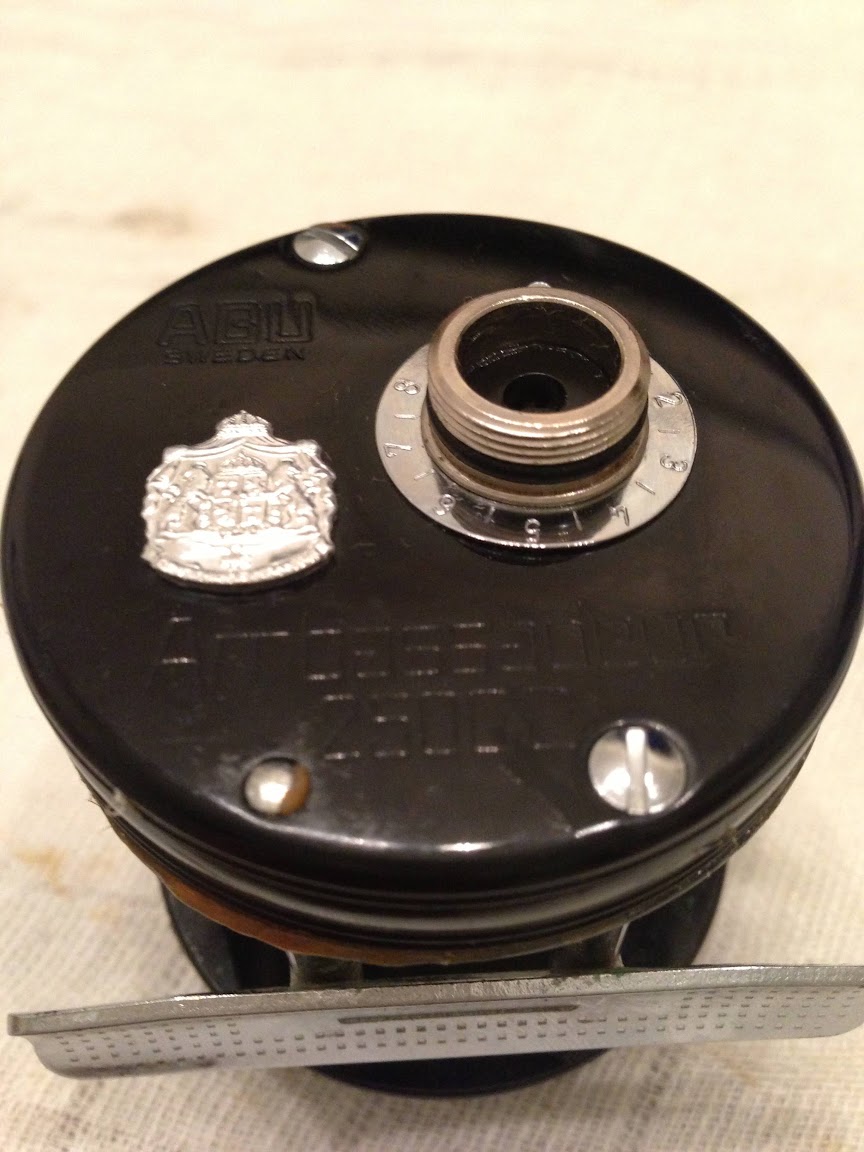
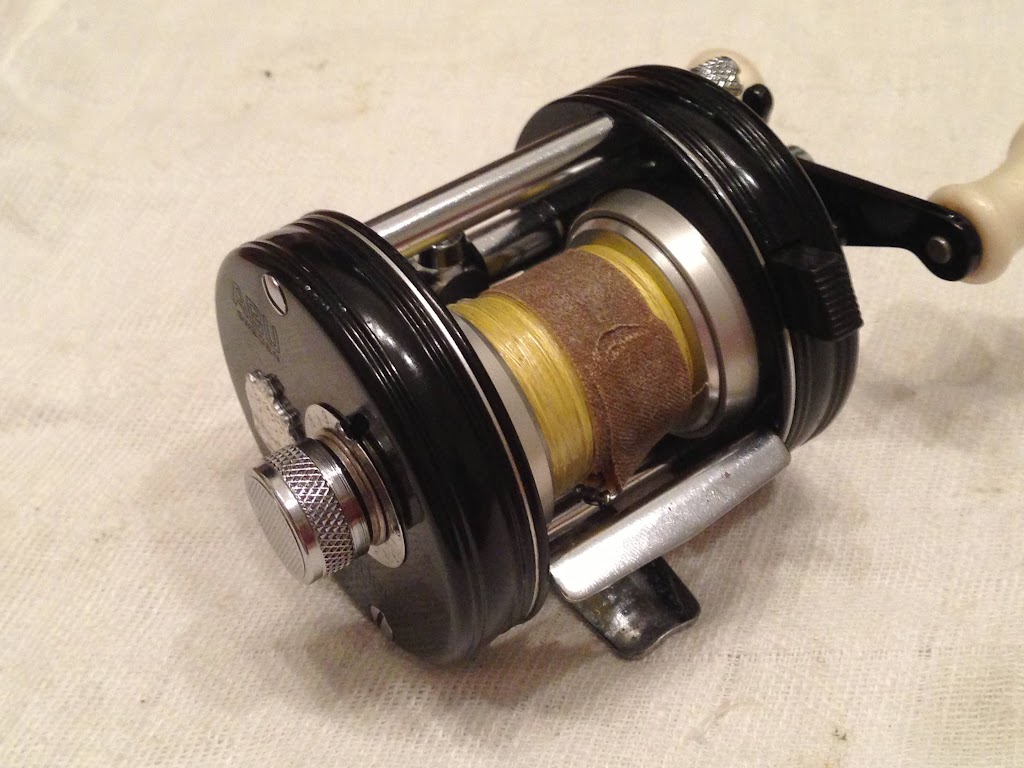
First the general outside views
My friend has a simple regimen for all his reels:
1) Take them out to fish.
2) Bring back to boat and hang up on the overhead rod racks.
3) Ensure that cabin and windows are locked and blinds are closed.
4) Leave the boat till next trip.
SaltX Cleans Up Well
When I got this reel home, I gave it a good spray down with SaltX as there was a thick encrusting of dried sea water.
After a wipe down, the reel exteriors look much better.
But traces of the seawater patina do remain and will need a longer soaking in SaltX. I just hope that ABU has better paint than Daiwa, as another friend found the logos on his Zillion PE came off after SaltX.
Taking It Apart
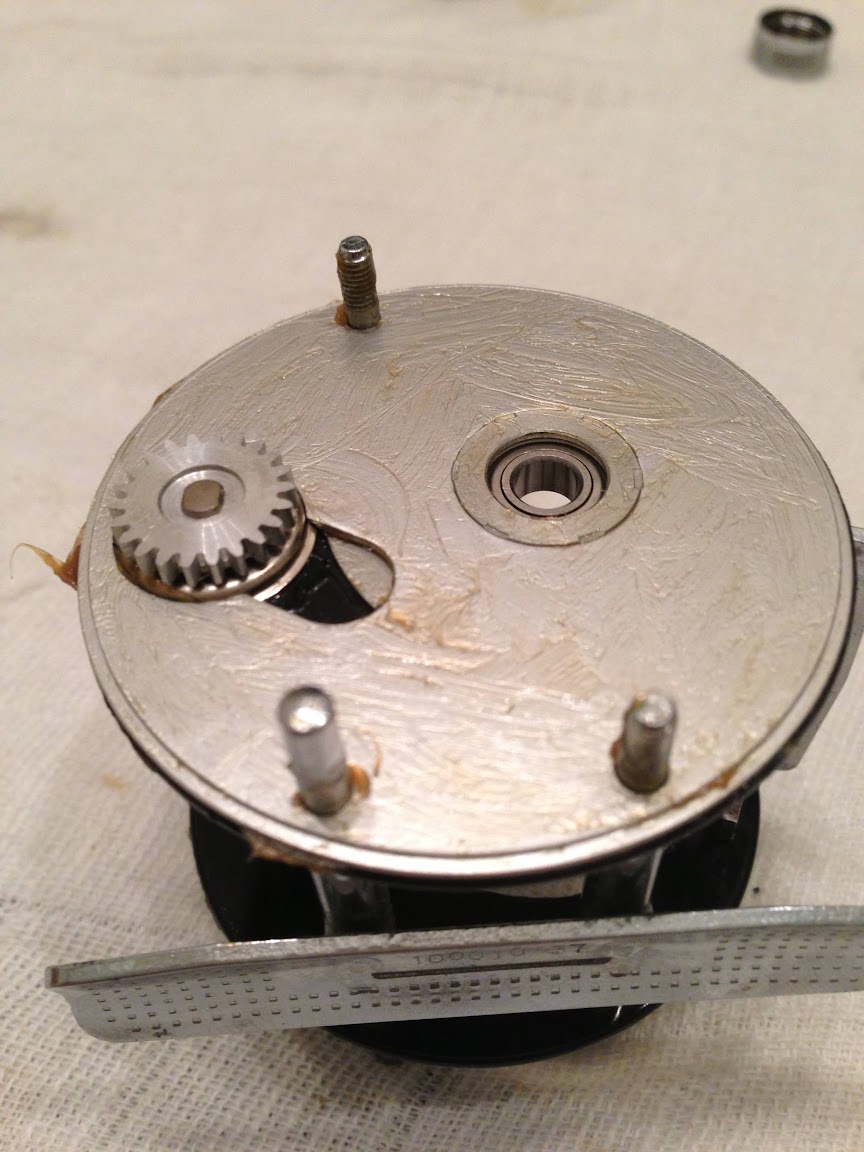
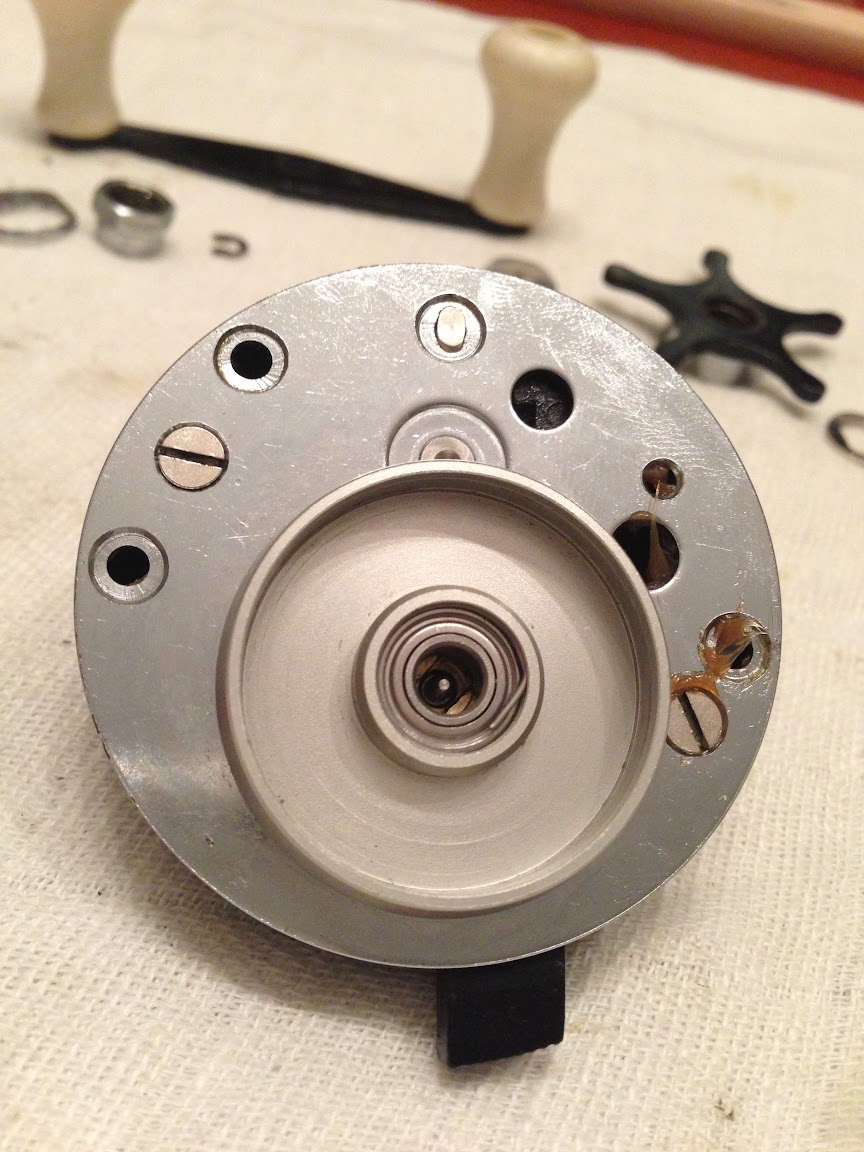
Dismantling the right side, I’m hardly surprised to find there is minimal corrosion on this reel, despite the hard life it had to go through. ABU Ambassadeurs are tough little multipliers that keep working!
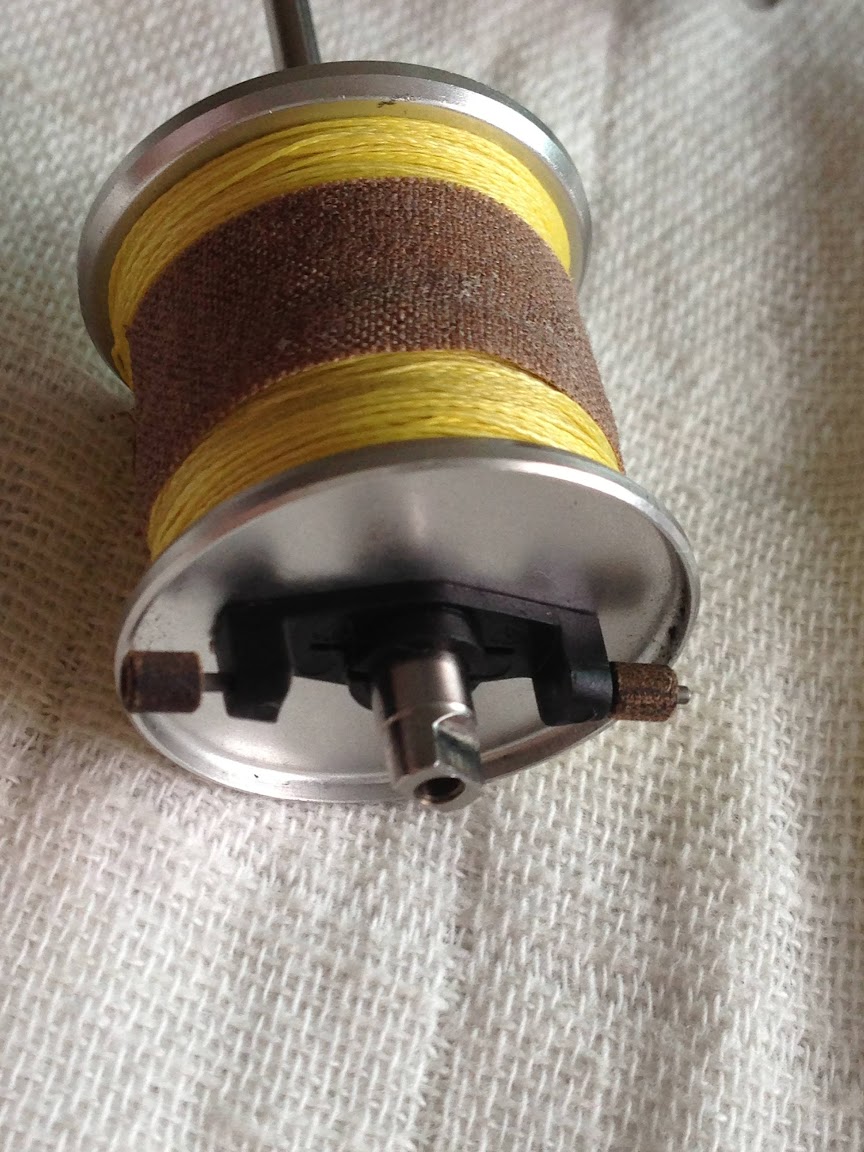
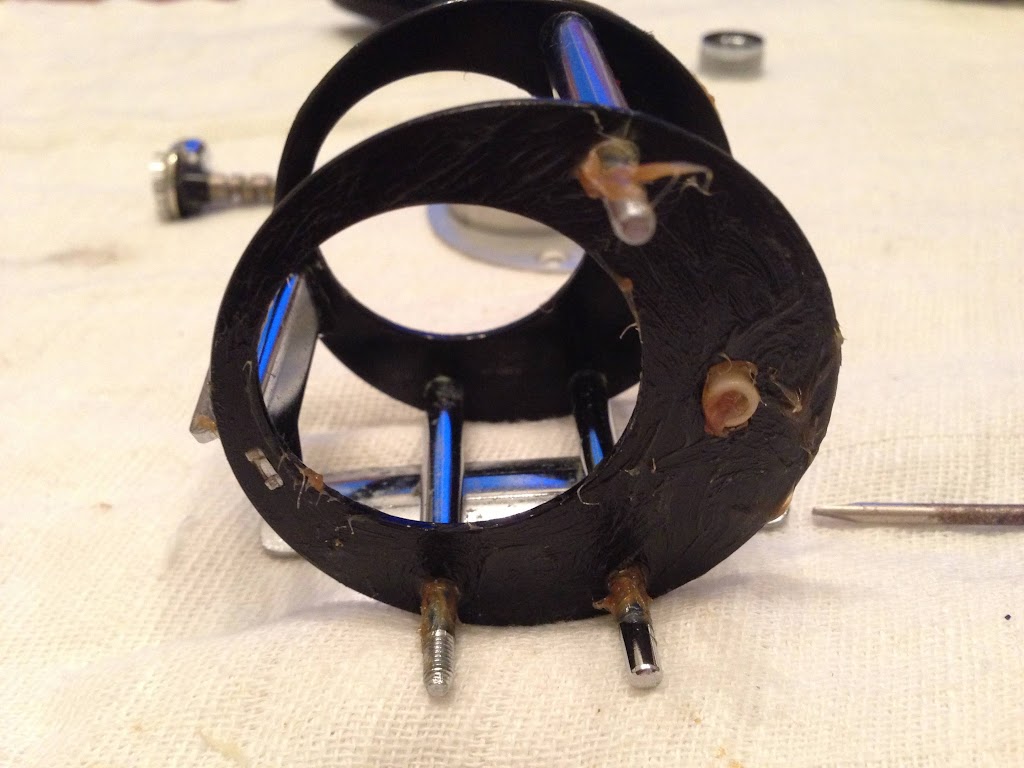
Missing Centrifugal Brake Pellets
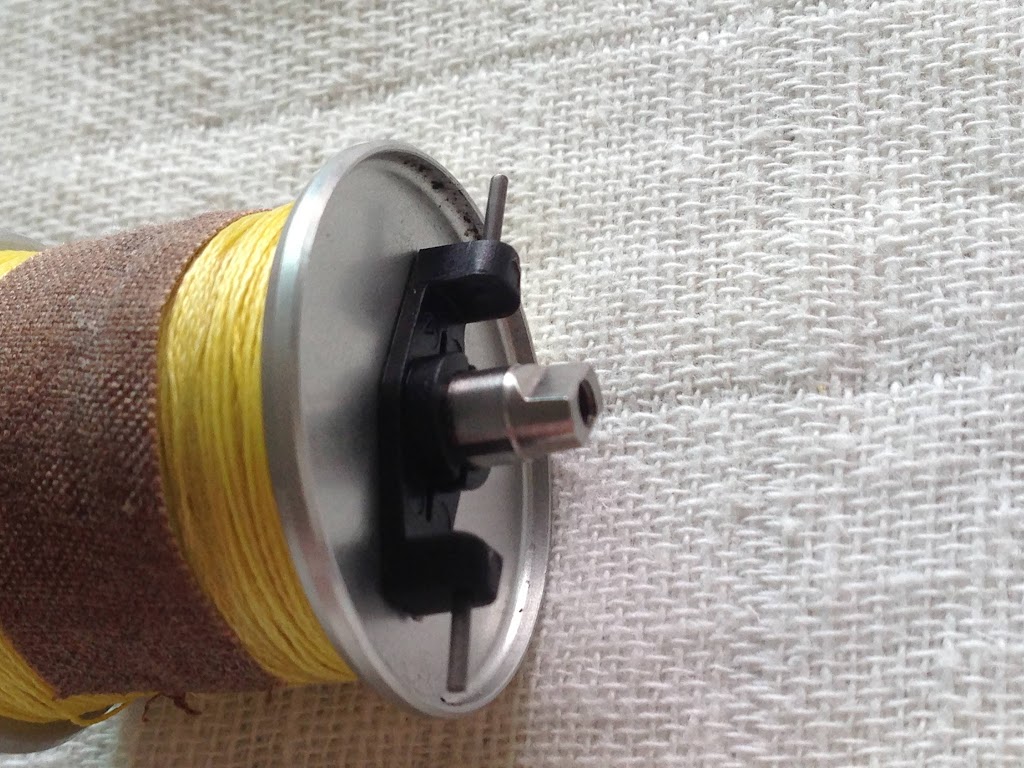
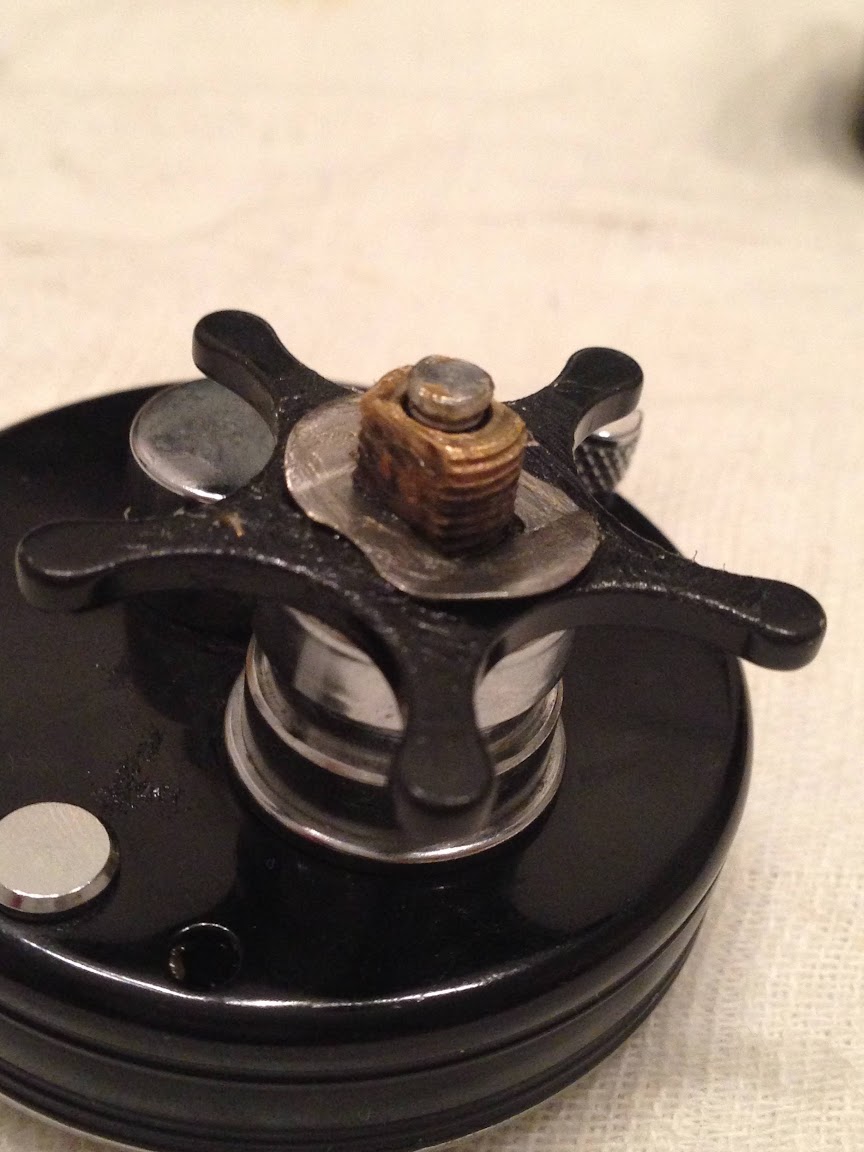
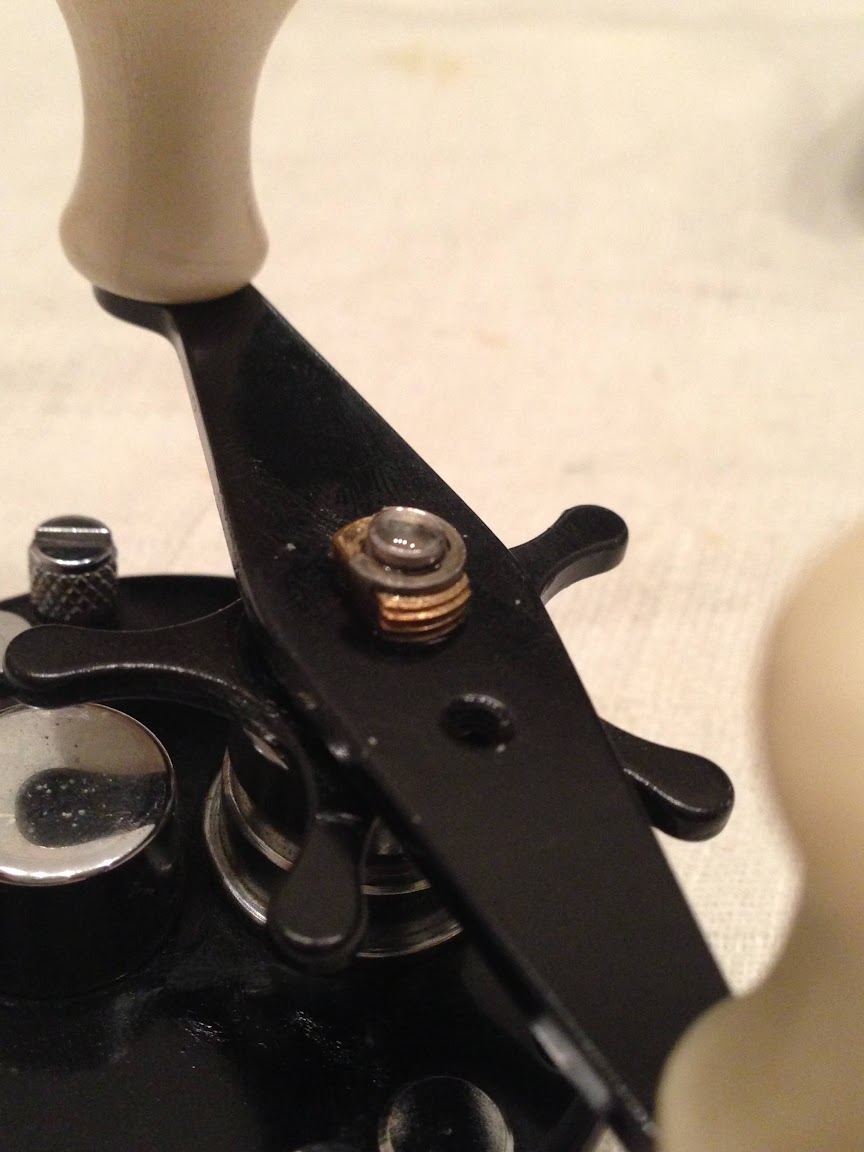
I also quickly found the reason why it doesn’t cast light lures well: The centrifugal pellets are missing! So in an effort to control the cast, the owner had wound the Cast Control Knob down tight.
Clean out the Spool Bearings
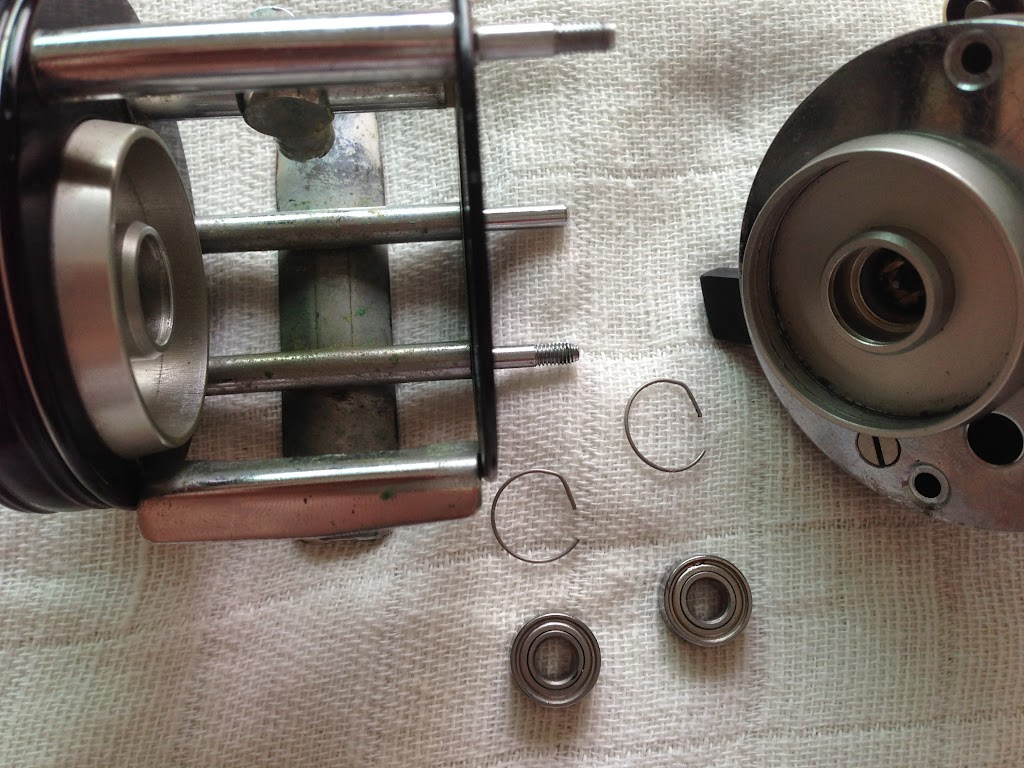
First item on the agenda is to establish whether the spool ball bearings are the culprits for causing this reel to sound like a pepper grinder.
Oh oh! The seals on these bearings are not held in place by C-clips. Instead, they are permanently pressed in ZZ type shields and removing these mean they can’t be popped back. Since the owner wants the bearing to be run closed, I’ll just degrease them and oil with a light oil.
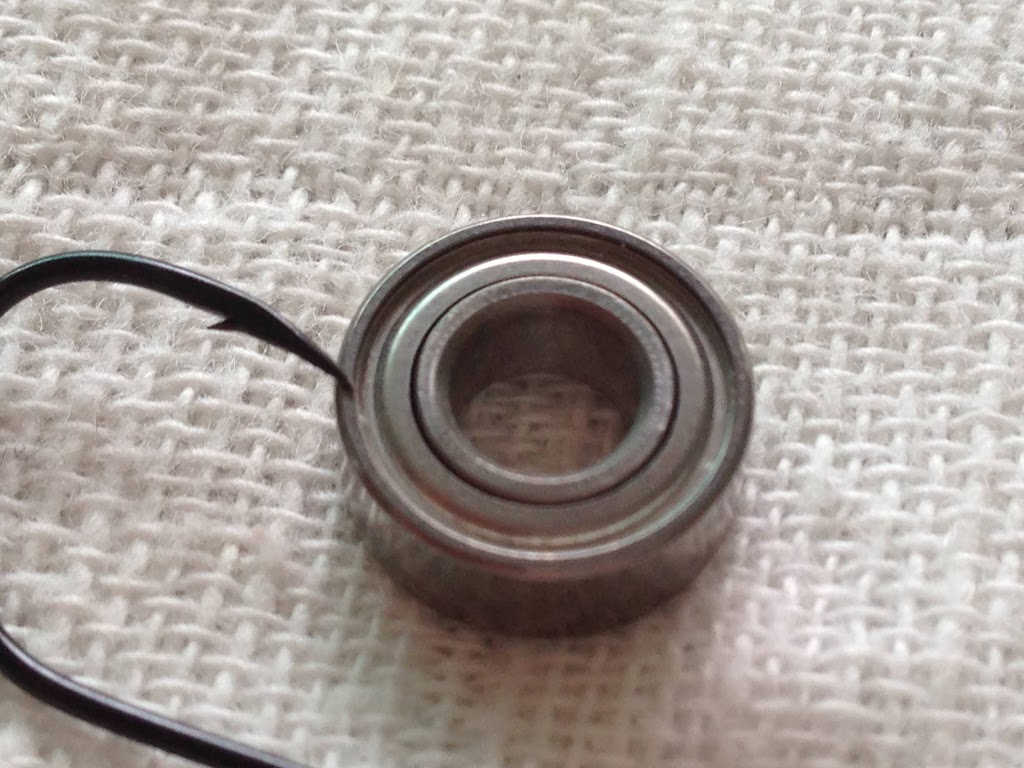
The bearings are still in decent working condition after degreasing. One is capable of spinning for 15 seconds perched on my forceps, and the other stayed spinning for 8 seconds. So what is causing the roughness?
Meanwhile, I managed to locate my bottle of spare parts for my Ambassadeur 6500C, and in it are these old phenolic resin pellets. Since I won’t be needing them, I’ll just donate these to the 2500C.
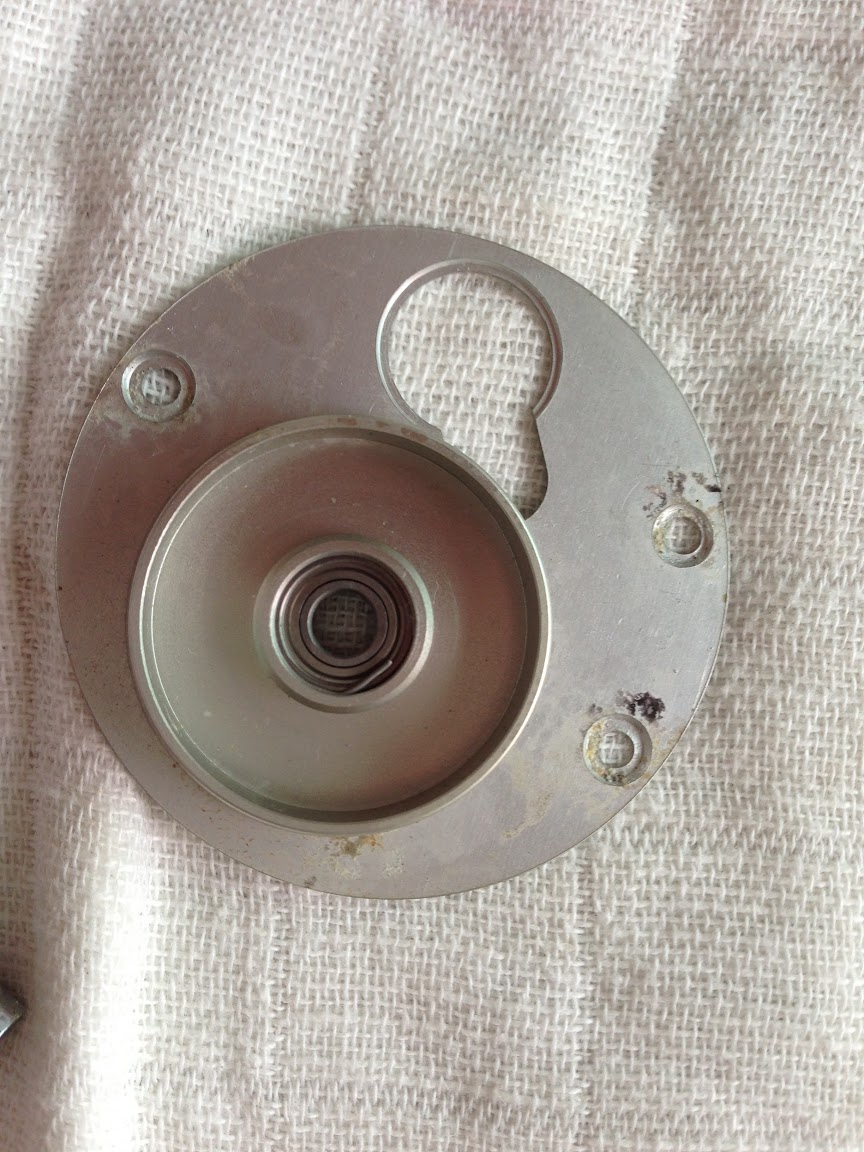
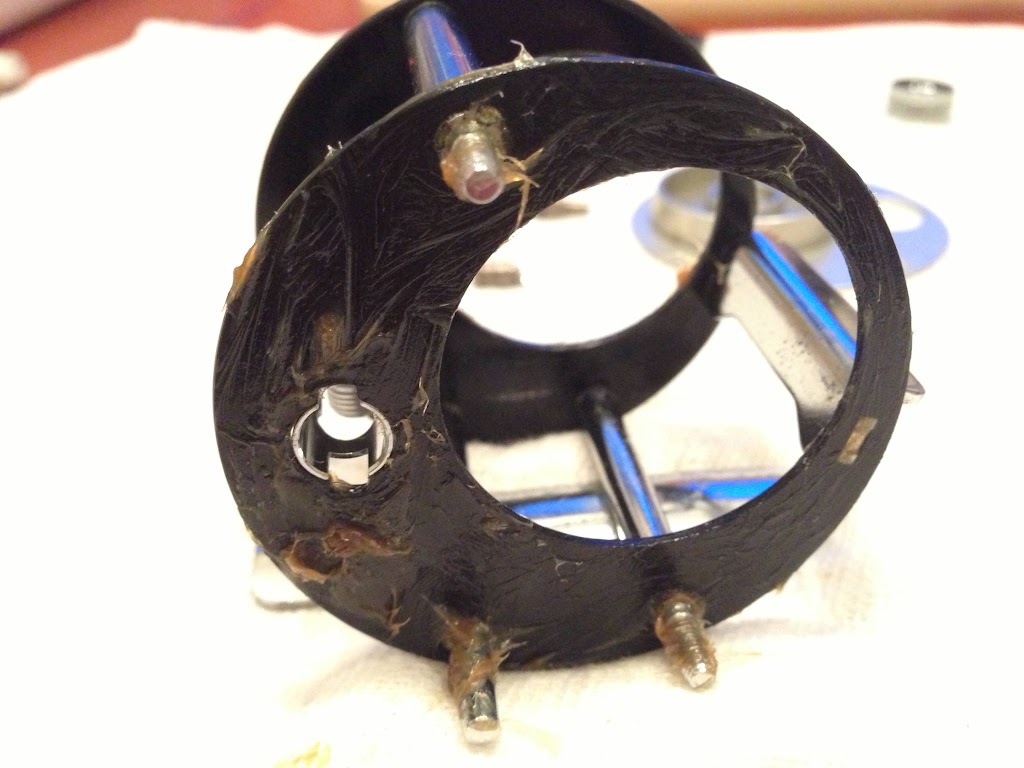
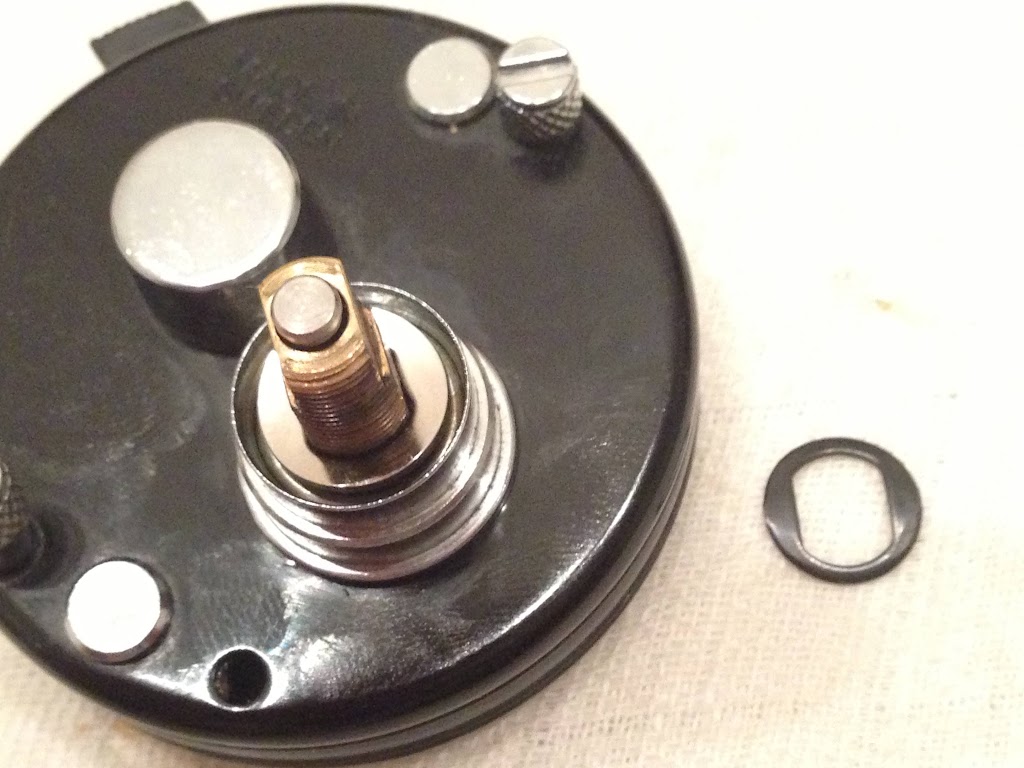
Stripping down the left side plate, I found surprisingly minimal corrosion for the amount of abuse this reel had gone through. The calcified stains of dried seawater is also clearly seen here.
Old Dried Oil
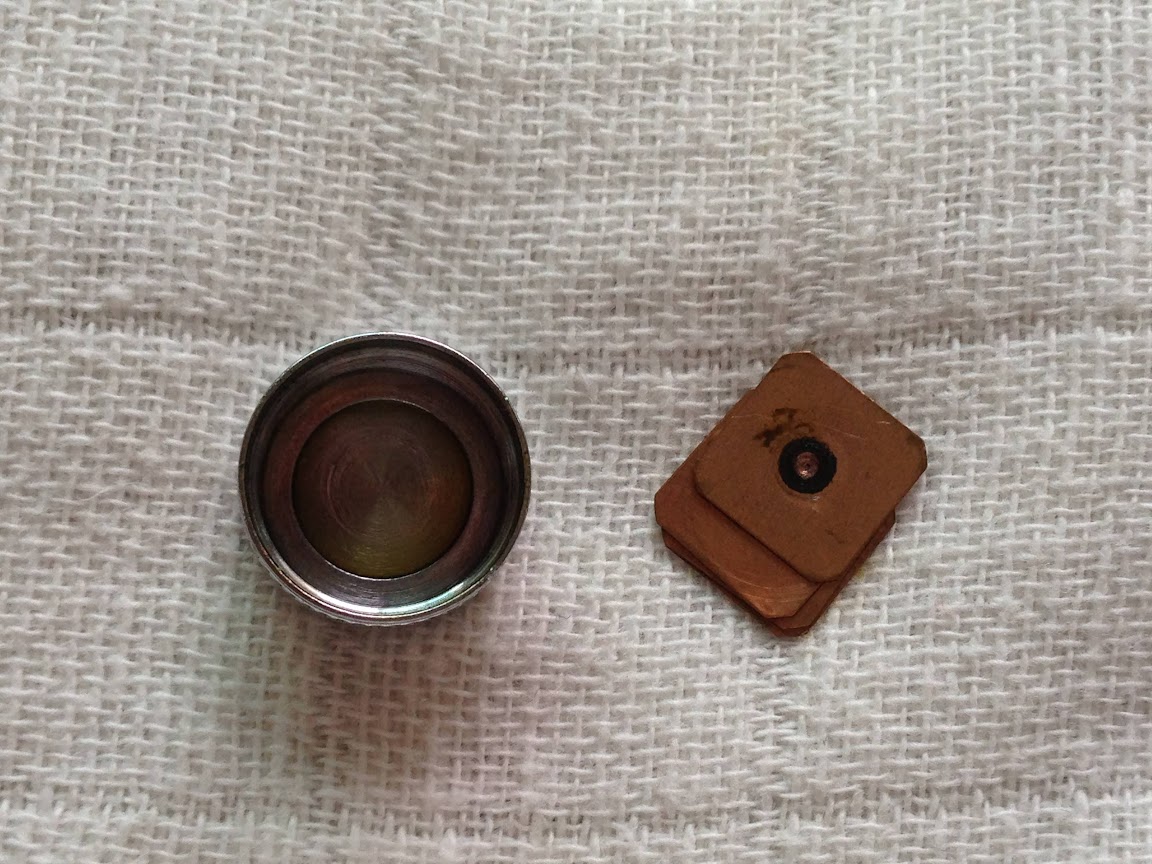
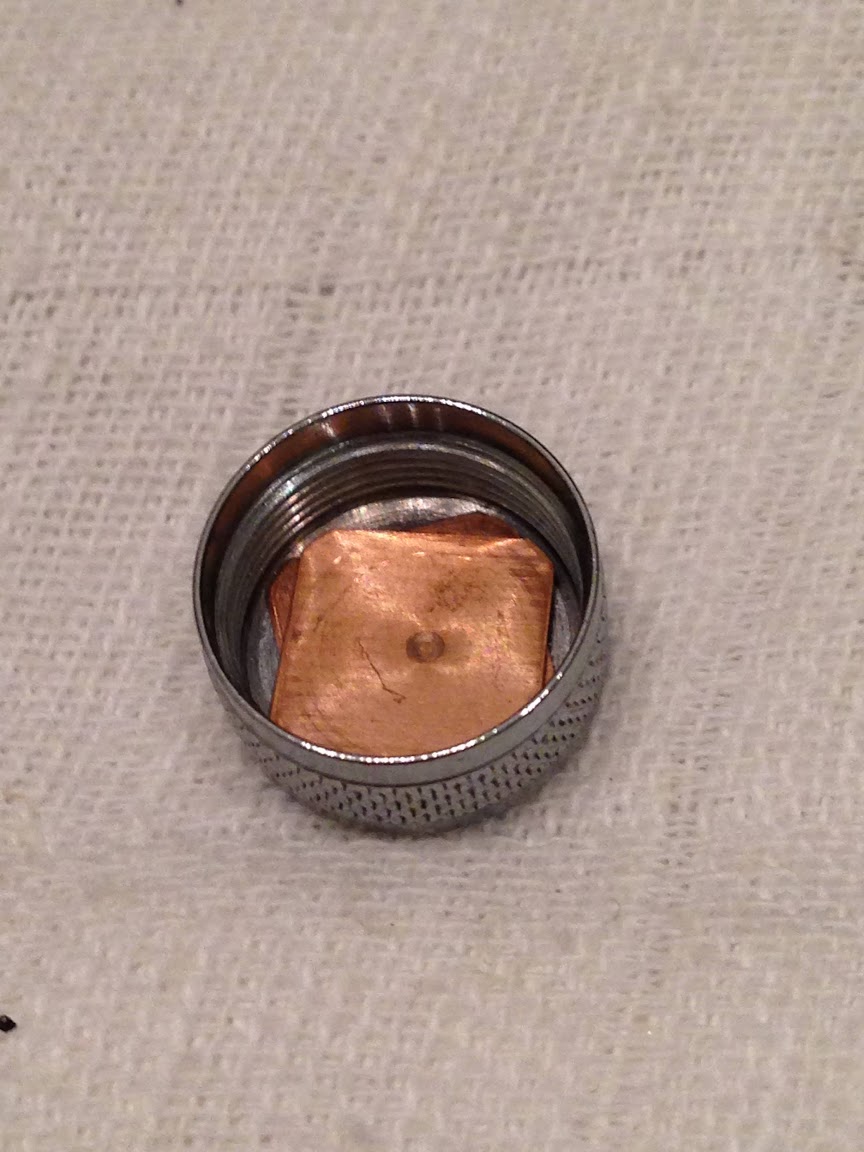
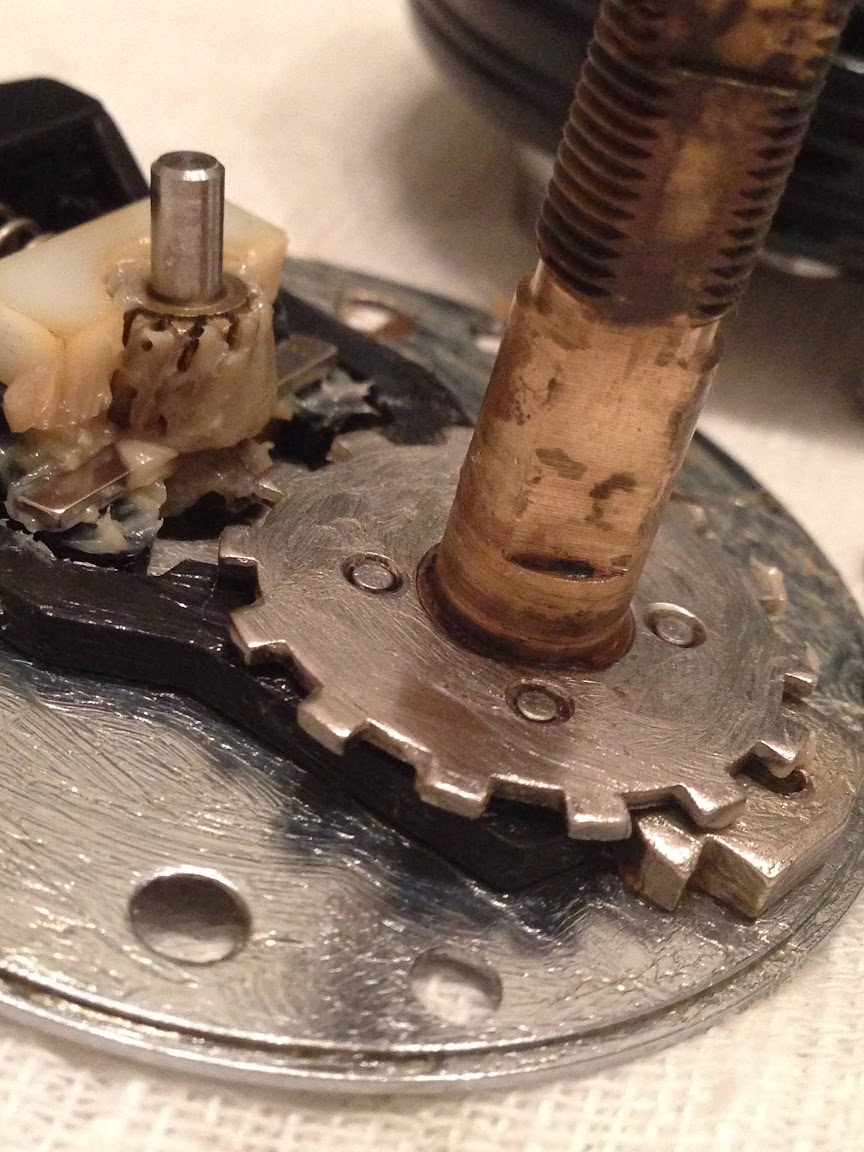
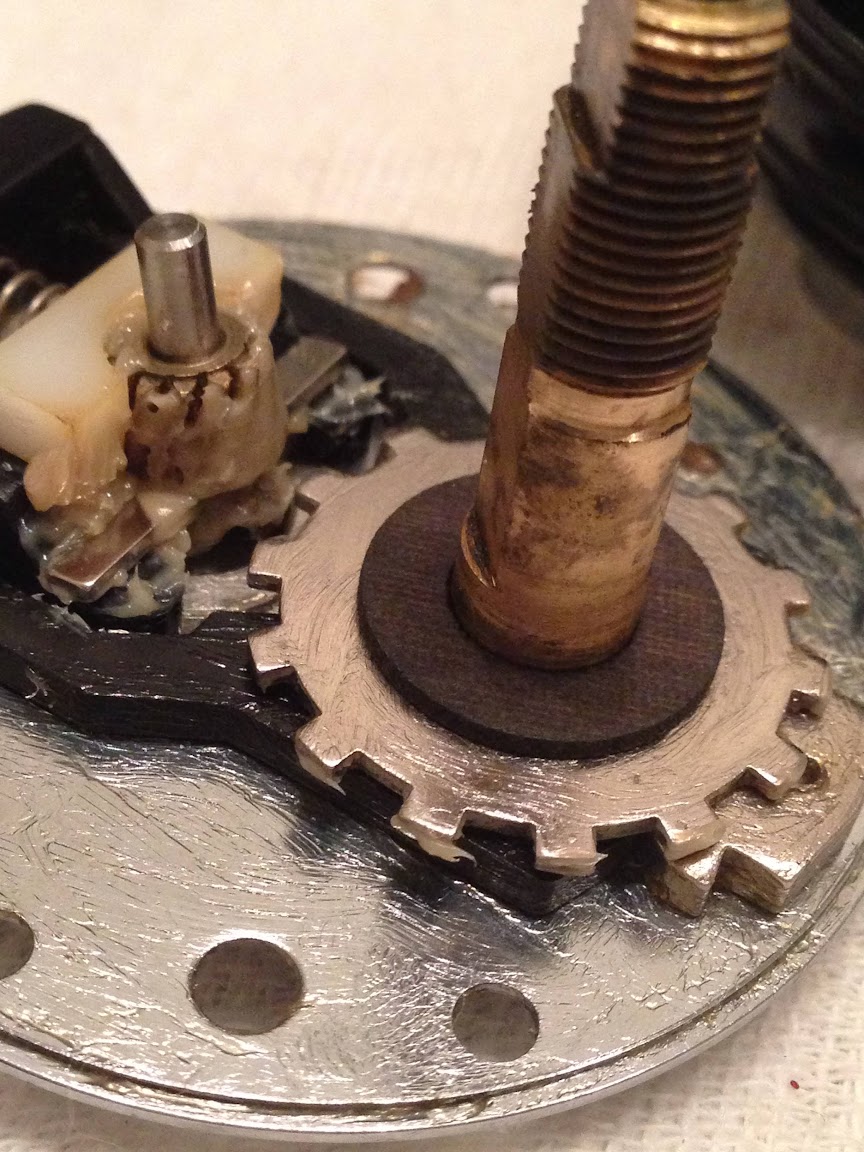
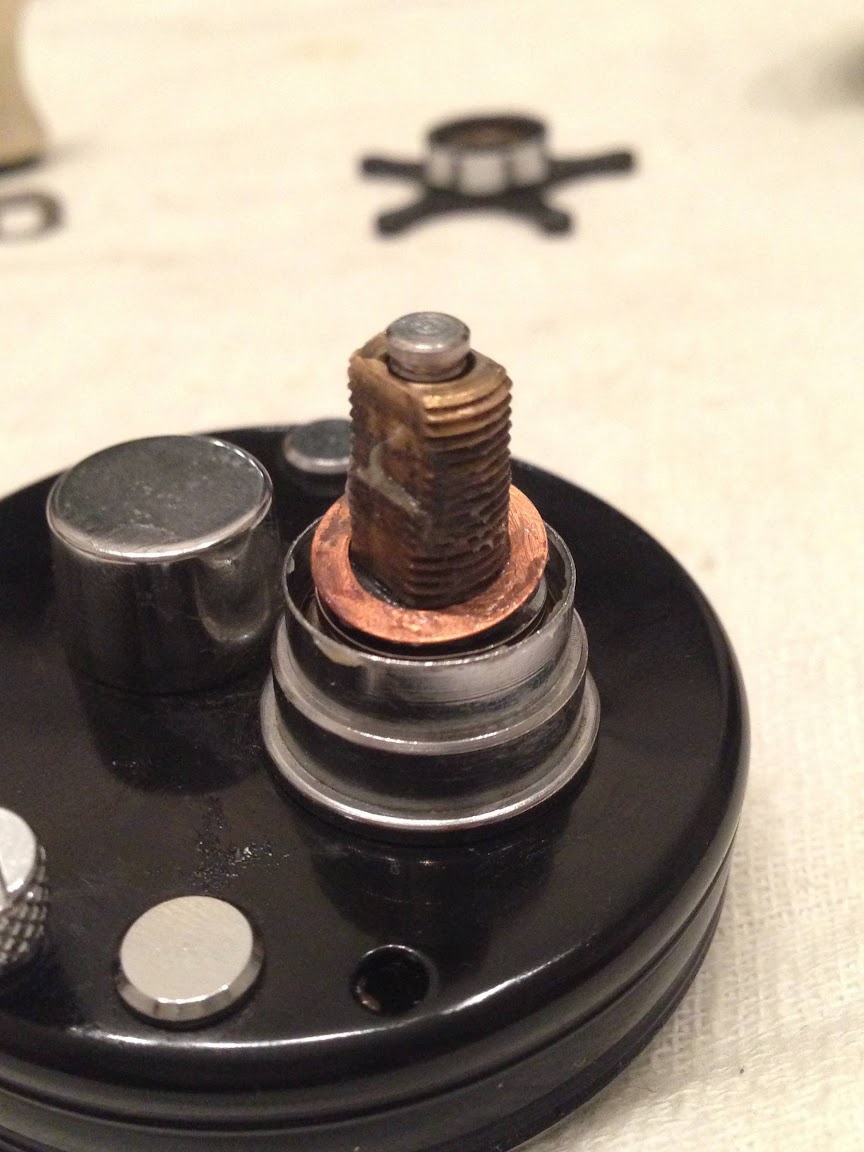
The copper shim is deeply scored and blackened with dried old oil.
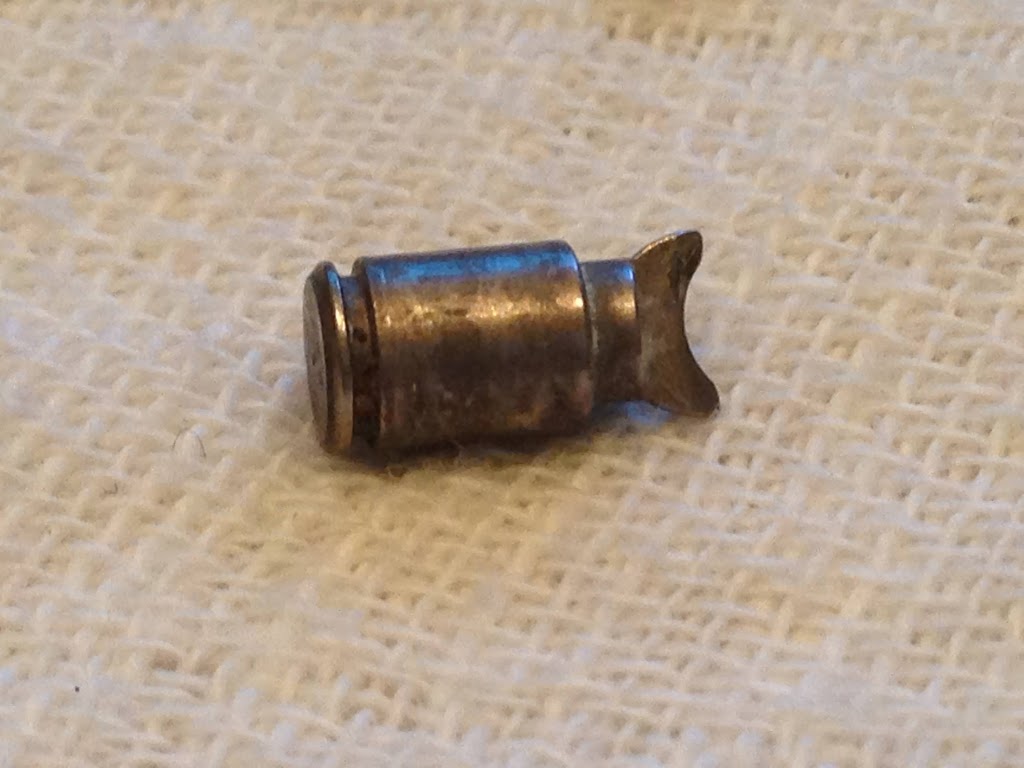
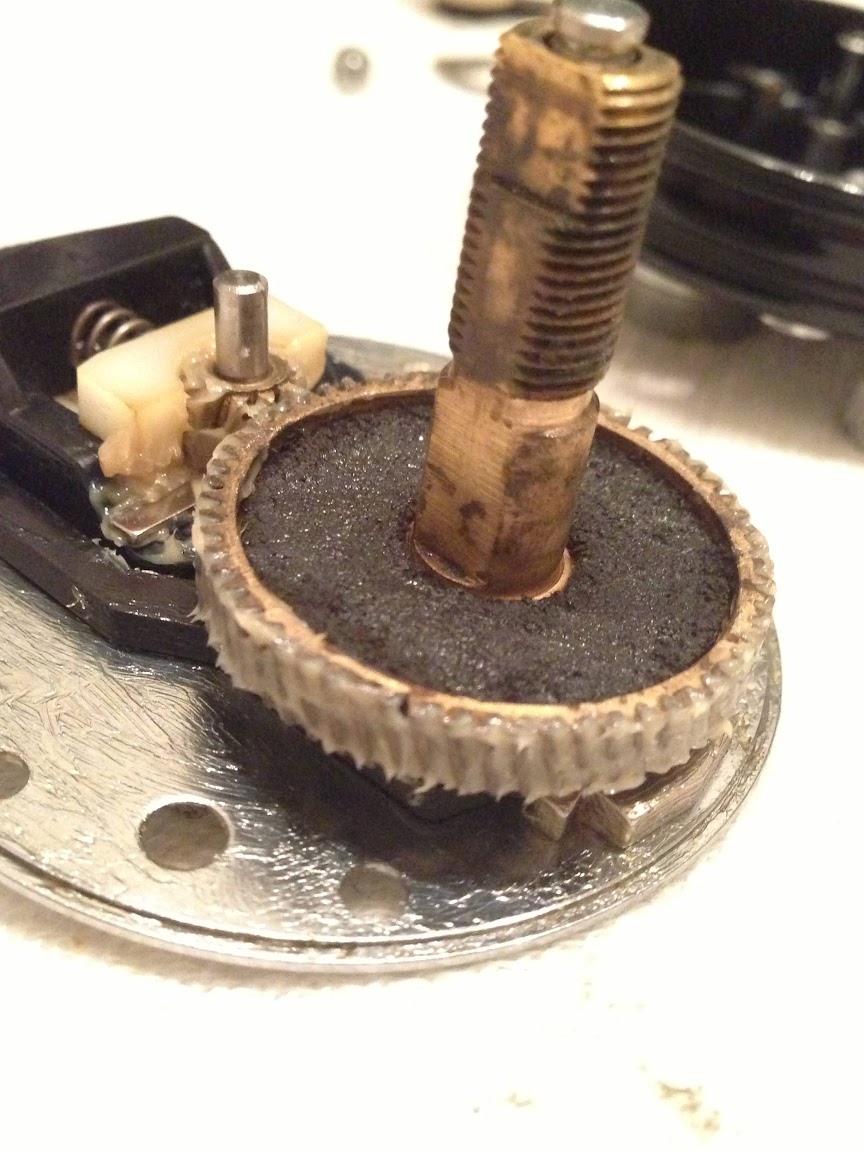
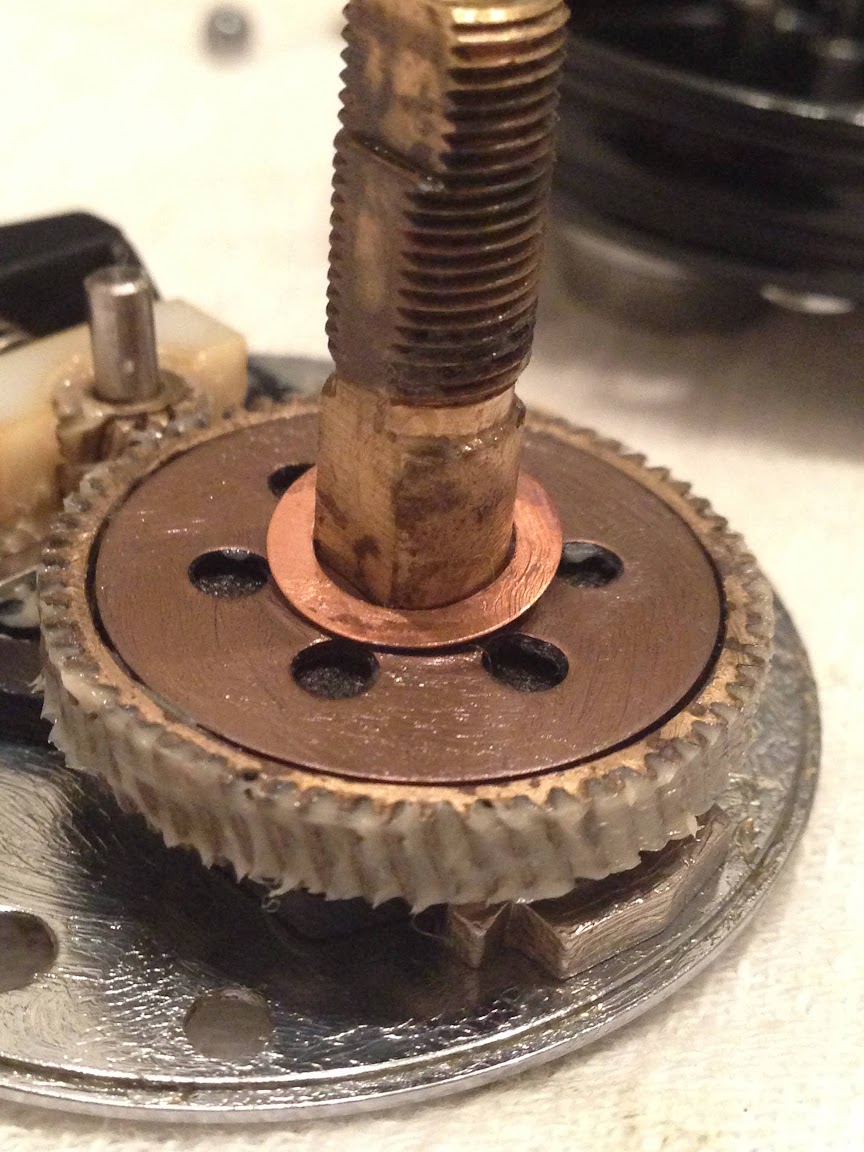
Calcified Levelwind

The levelwind mechanism seem to be the worst hit by seawater residue. Look at the line guide, there’s a whole coral reef growing from the calcification on this thing!
Corroded Frame and Sideplates
There is calcification a-plenty. But I would have expected much more pitting and corrosion no?
Perhaps this and a little warmed vinegar is the solution to getting rid of the calcium deposits.
After Cleaning…
And this is what it looks like after cleaning.
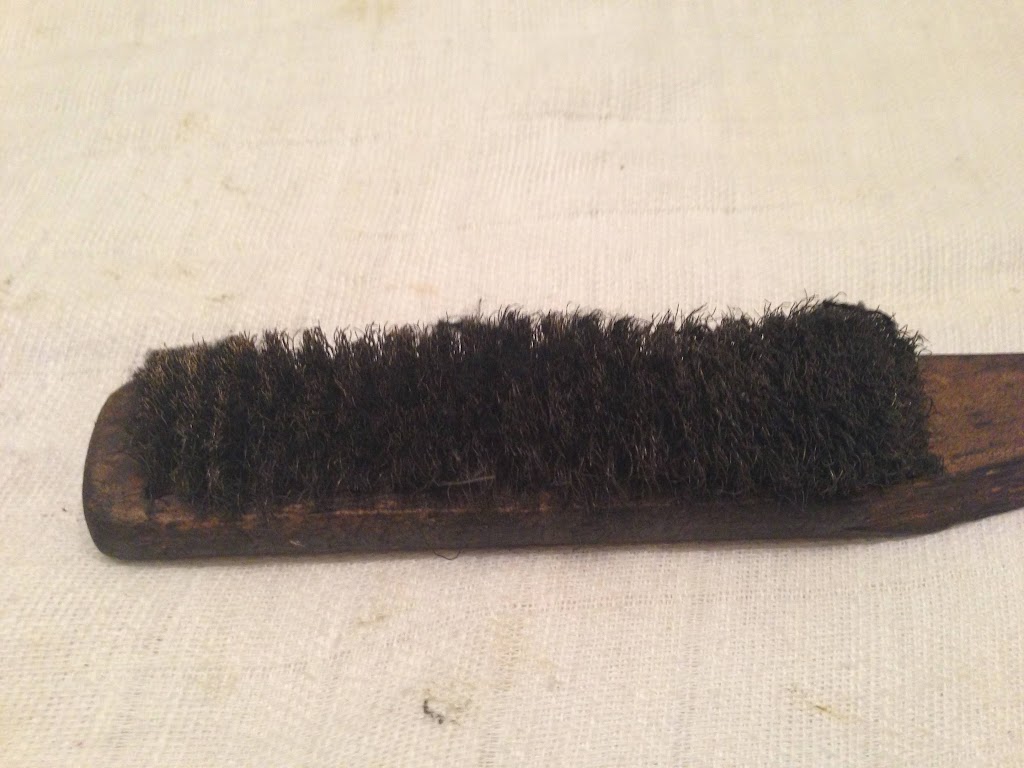
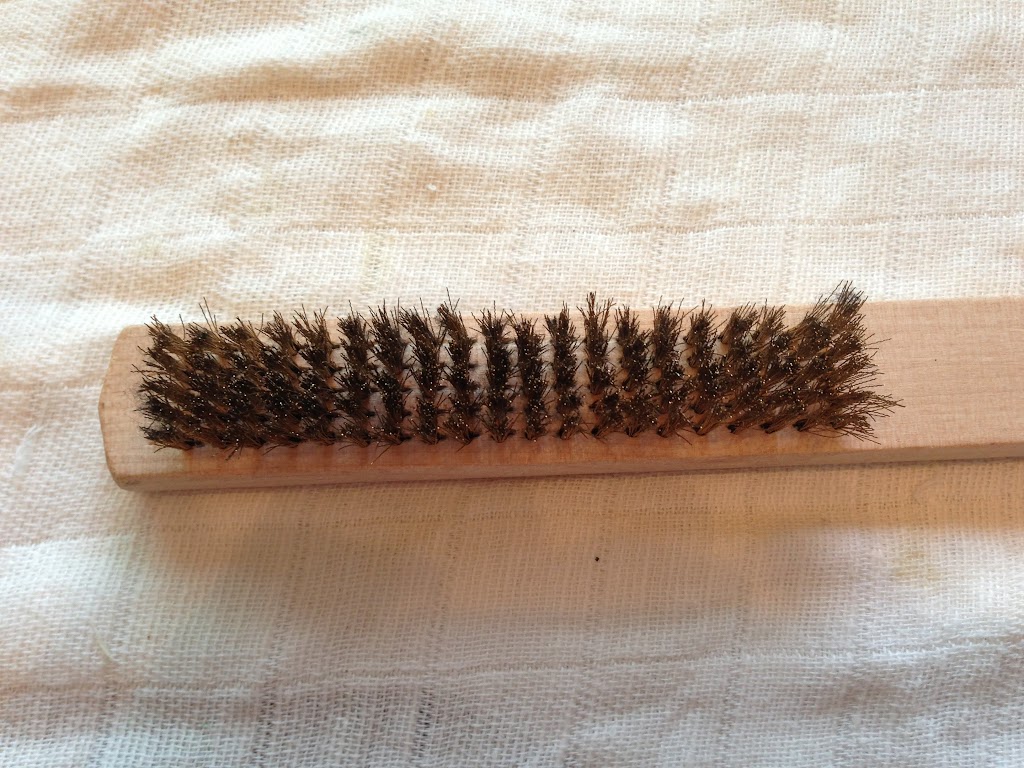
But the poor brush died in the process! Haha!
I was only joking. No brass brush was used on the reel at all. I only gave the parts a soak in SaltX followed by a washdown using Simple Green and warm water. There were some stubborn spots of calcium that required polishing with a Q-tip and Autosol Chrome Polish.
Despite my best efforts, I’m unable to turn this one around. It’s time for the owner to put an order on http://www.Mikesreelrepair.com for a levelwind pawl.
After cleaning, this plate look none the worse for wear.
Quicksilver 2-4-C Marine Grease for Corrosion resistance

To prevent further damage from corrosion, I greased this left sideplate cover with Quicksilver 2-4-C marine grease. Actually, any grease is better than no grease at all. I happen to have a tube of 2-4-C left over after replacing my propeller cotter pin, and having been impressed how the prop just slipped smoothly off like it was installed yesterday instead of years ago, I determined that it is good enough to protect my fishing reels from corrosion too.
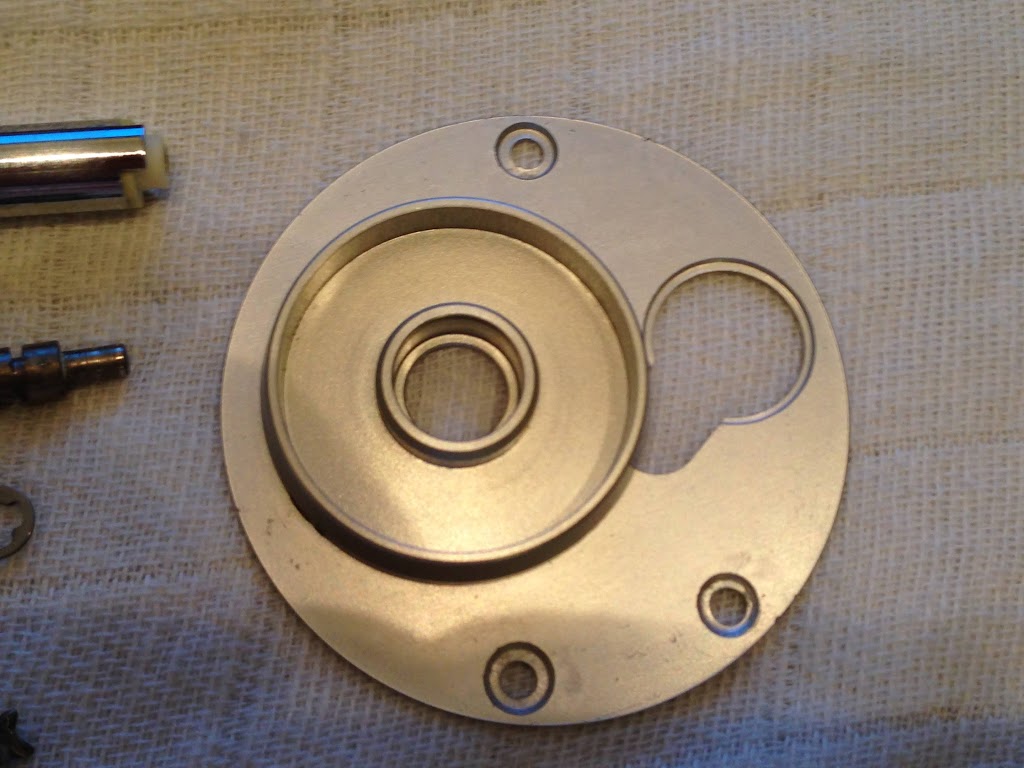
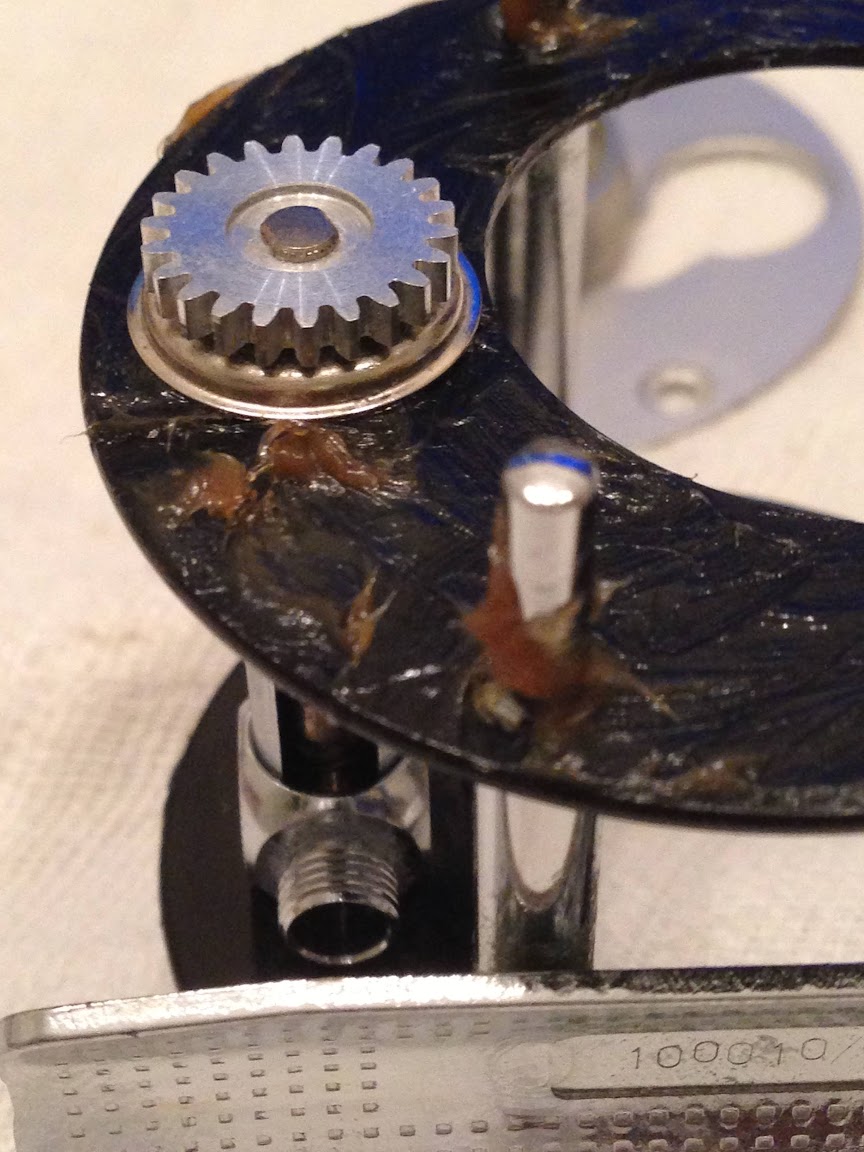
Observe I buttered the corners, holes, screws and flanges thickly, but I totally avoided getting grease on the chromed mounting post for the levelwind idler gear.
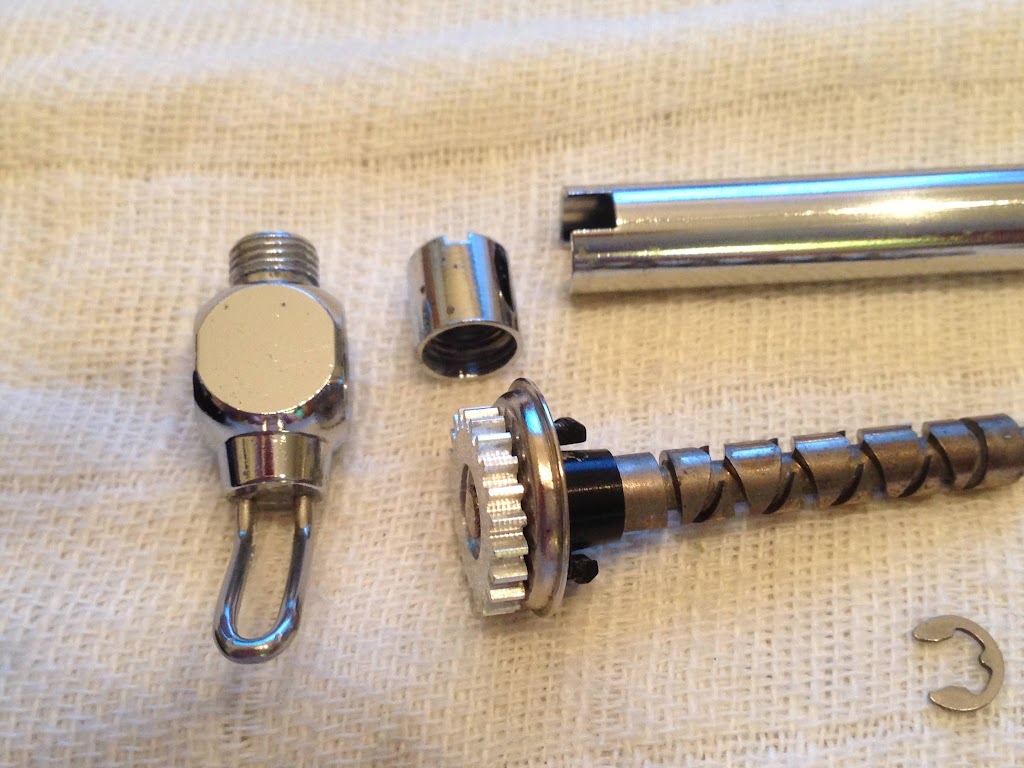
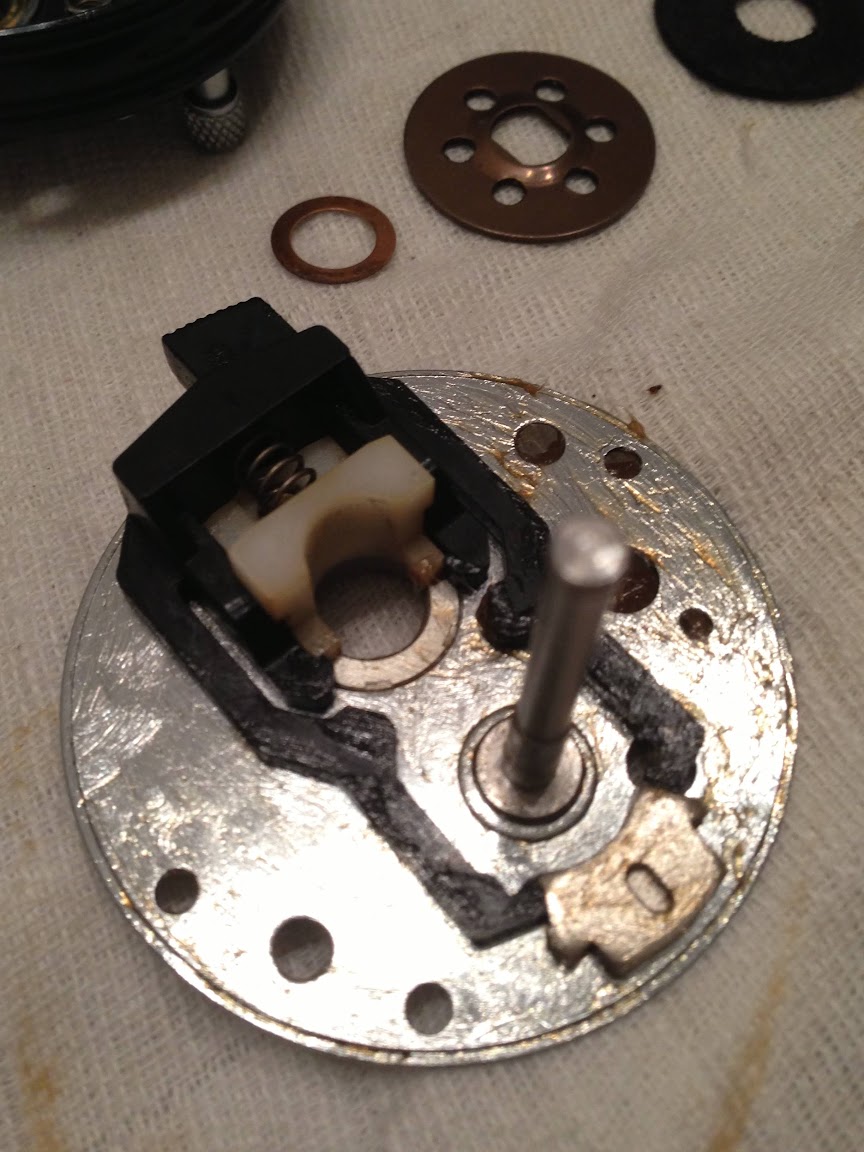
Install Levelwind Mechanism
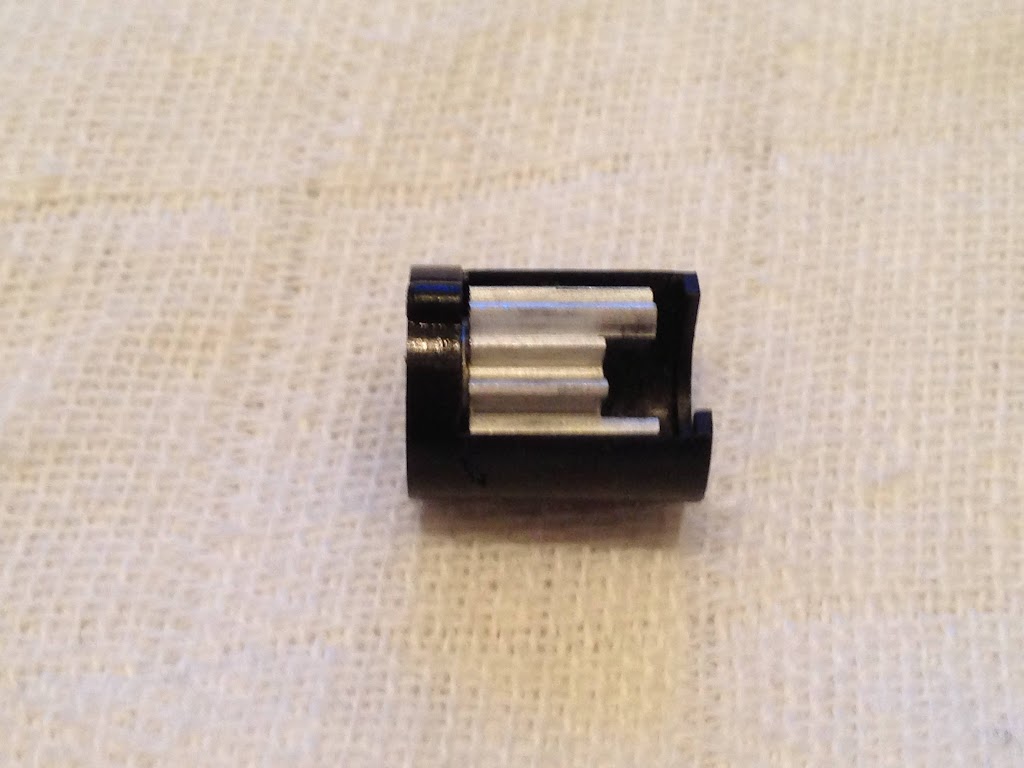
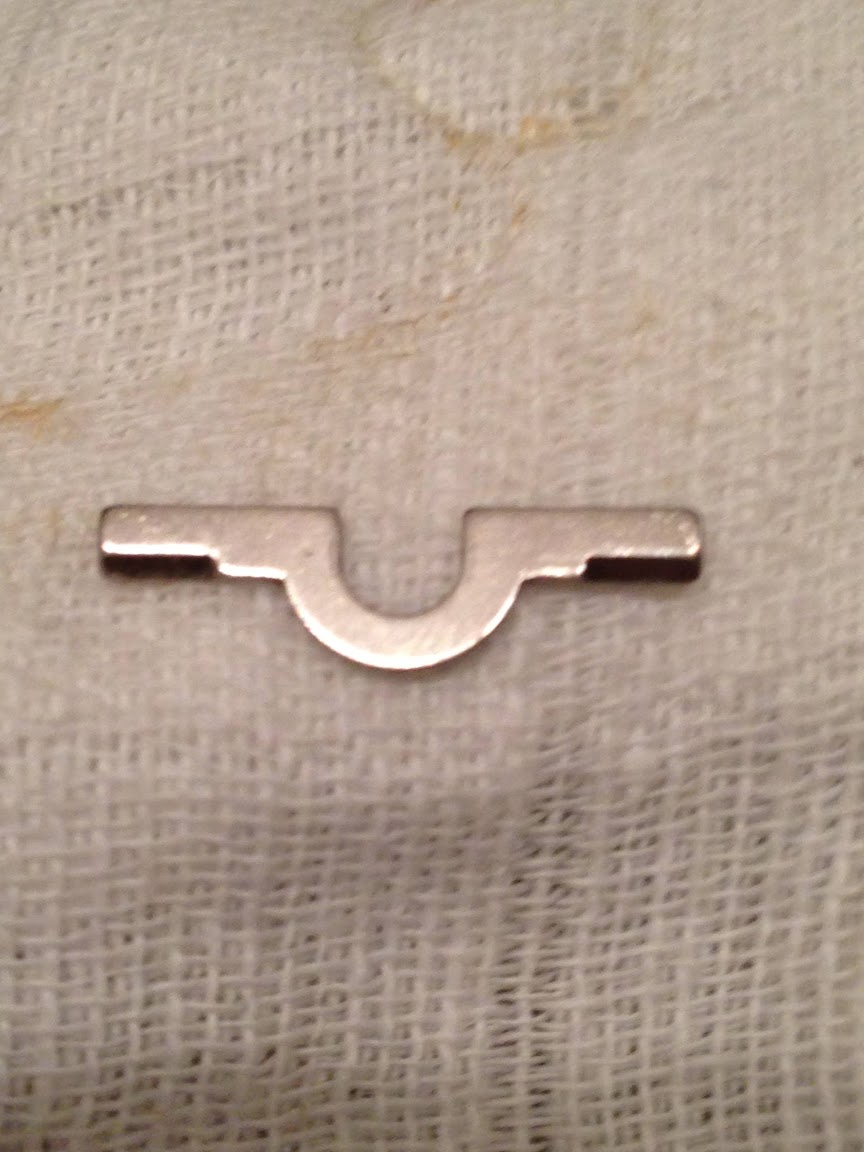
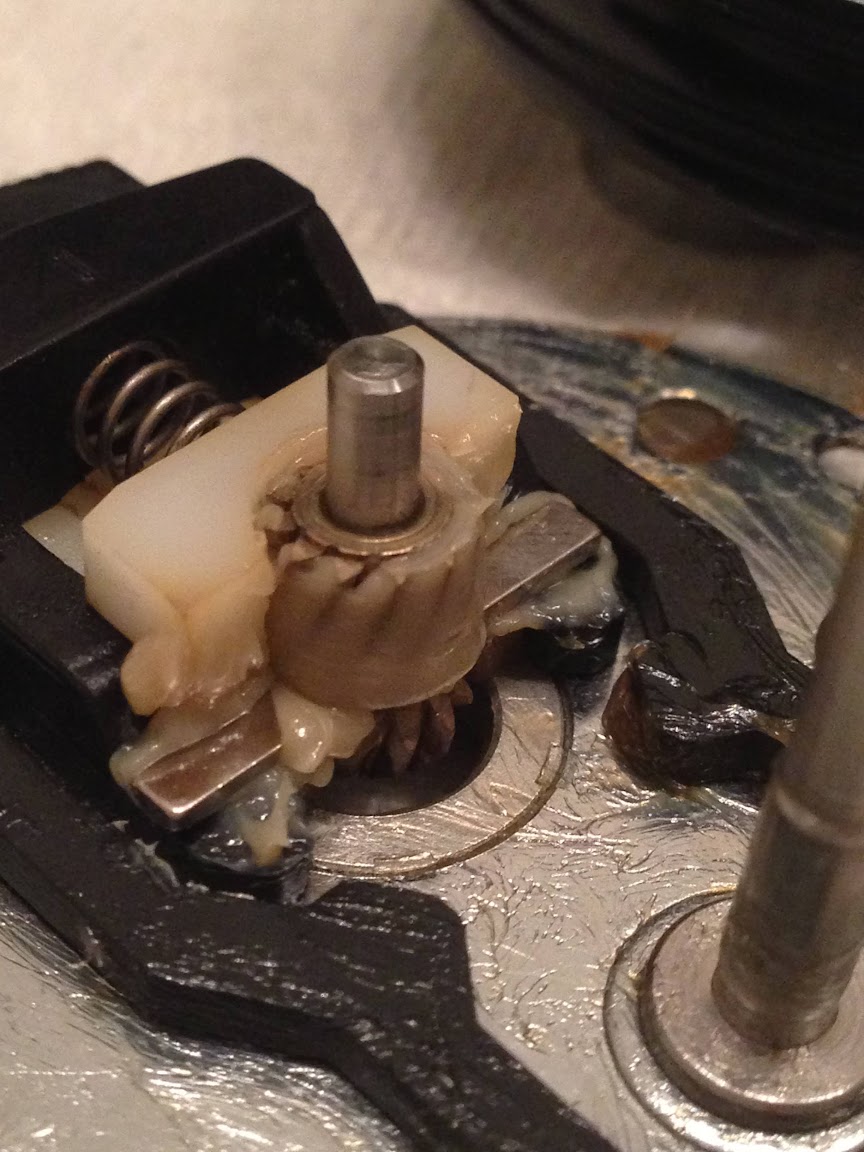
Levelwind pinion sits in its plastic housing with its yoke side facing the U-notch. Observe the tongue on the left side which slots into the left sideplate cover via a keyway.
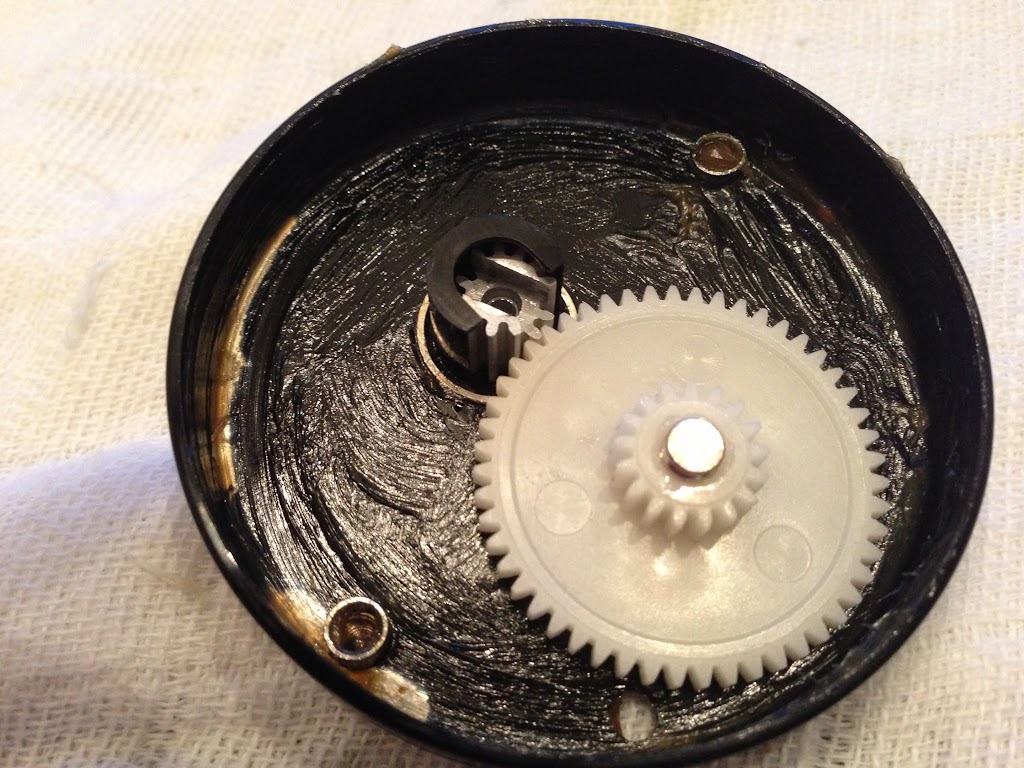
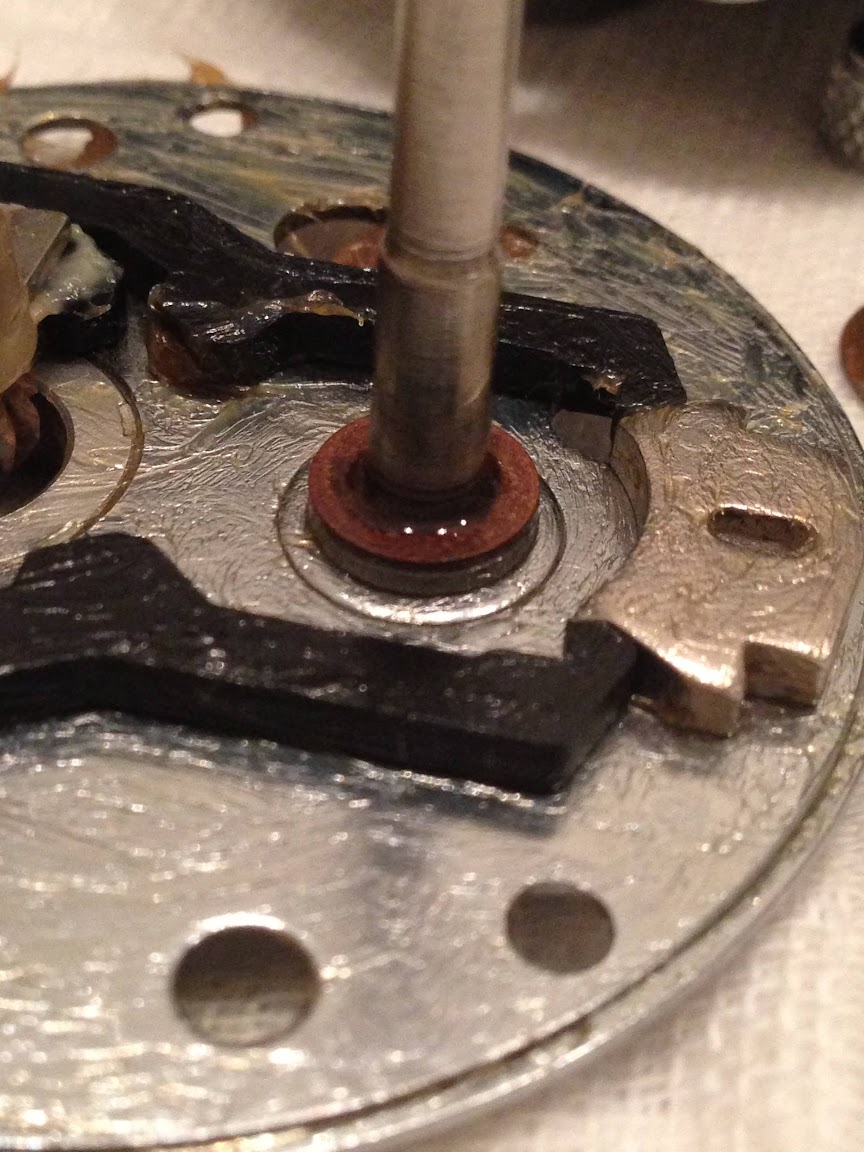
Oil the chromed post with a light oil such as CorrosionX and drop in levelwind idler gear. If you don’t have CorrosionX, you can also use ReelX
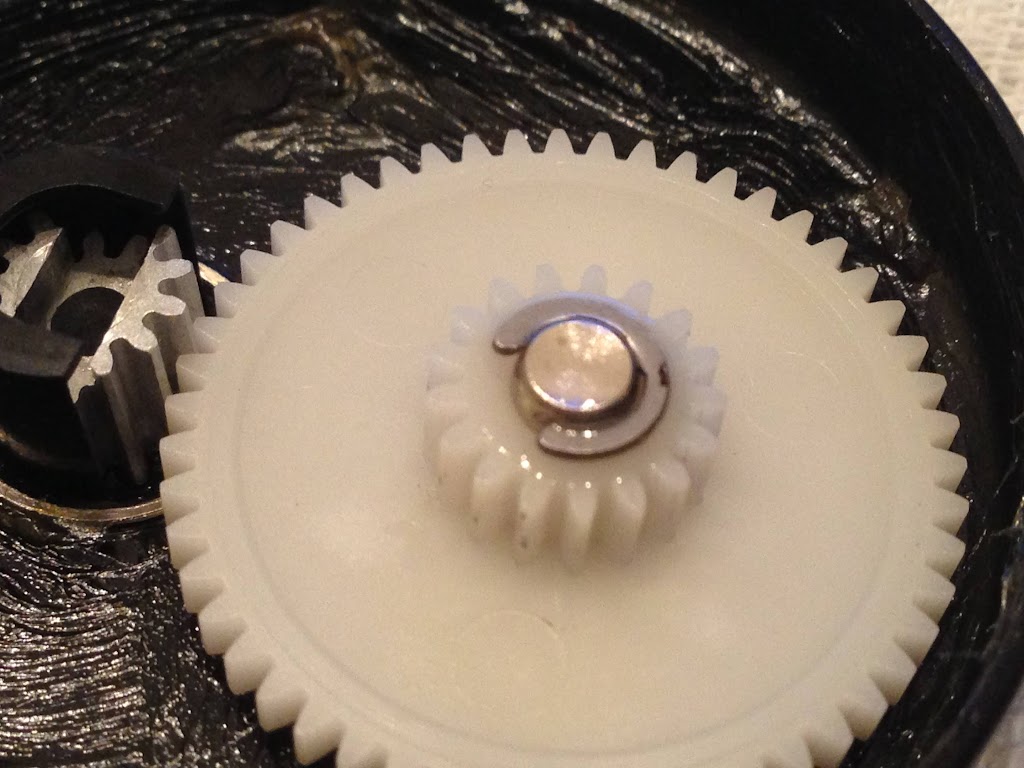
Secure with E-clip, drop a drop of light oil and put aside.

Grease frame with Quicksilver 2-4-C Marine Grease for protection against corrosion. Attach worm guide through frame and line guide, adjust that it sits squarely into its notches and grooves.
Plastic shaped end fits into its shaped hole on the right frame.
When properly fitted, worm guide is flush on the left frame.
Drop worm gear into the worm guide and secure by snapping its Delrin clasps against the left frame.
Delrin clasps snapped in place against frame, worm guide cleaned of grease as grease will rob it of casting distance.

Protect left aluminum plate with Quicksilver 2-4-C Marine grease
Attach Spool ball bearing, secure with C-clip and seat in place on left side frame.
Finishing off Left Side
Fit and secure left sideplate cover taking care not to over torque screws, then wipe off excess grease.
Drop a drop of light oil on copper shims, threads and attach the cast control knob. Your left side is done.
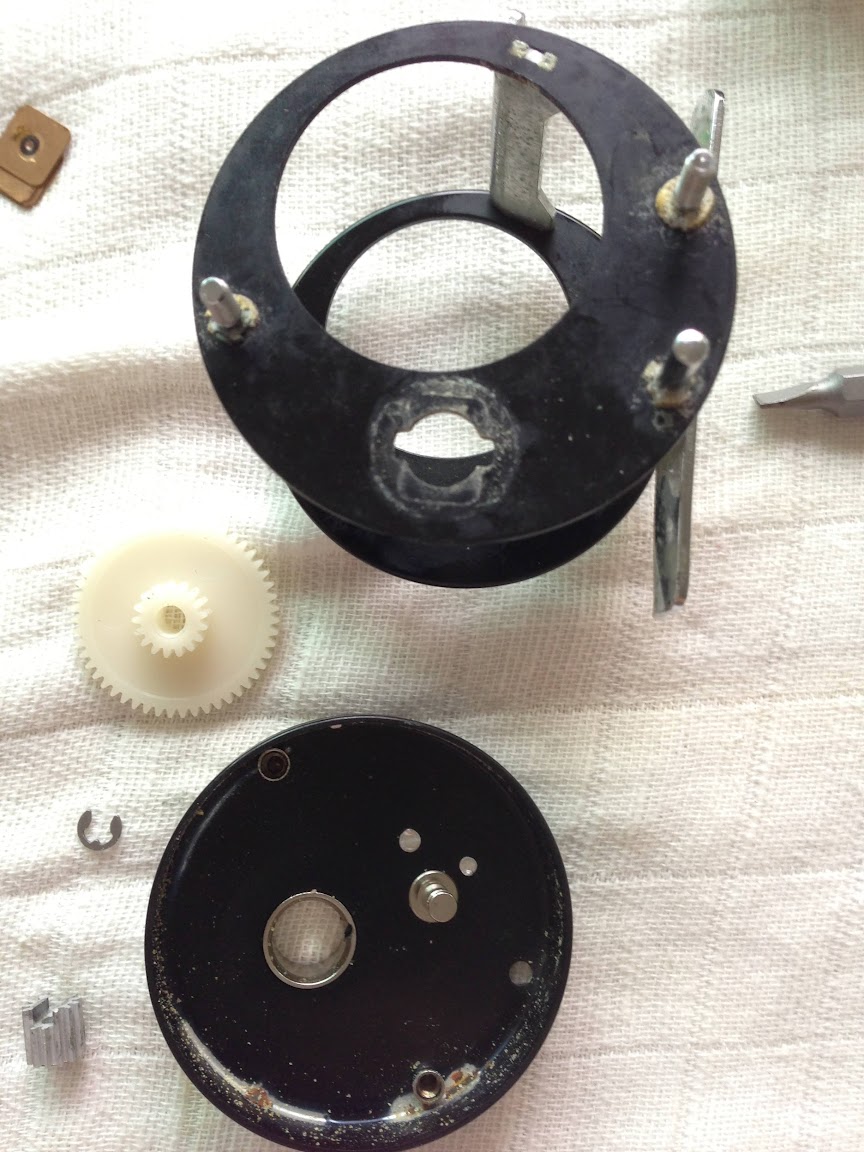
Right Side Stripped Down
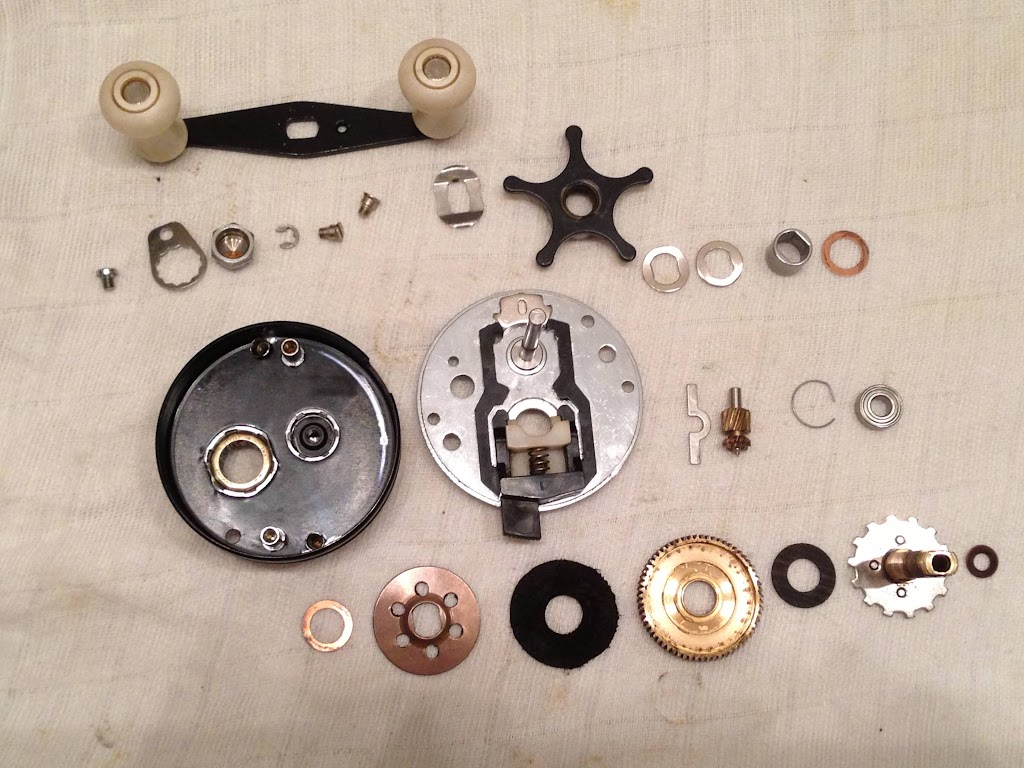
Here is the right side degreased, cleaned and ready for assembly. It helps that you place the parts in order as they came out, so you can fit them back again. Having a properly enlarged schematic for reference is a good idea too.
First, I shot a bit of WD-40 down the shafts on the handle. It is a good penetrating spray to use in cleaning the handle shafts. Spin the knobs till black dirty oil appear at the other end. Continue to apply WD-40 till only clean oil comes out. Dry with a blast of compressed air and apply 3 drops of CorrosionX to each shaft. Work the knobs till CorrosionX displaces WD-40 at the other end and wipe off excess.
Marine Grease Protects
Grease for lubrication and corrosion resistance, taking care to grease under the plastic arms too.
There is a chamfered side on the yoke. The chamfered ends should face downwards.
Grease between the teeth of pinion, hang on the yoke taking care to ensure the chamfered side is facing down and place on its cradle.
Assemble the Main Drive
Thread copper washer through spindle and lubricate spindle with a drop of CorrosionX
Grease drive shaft and Spindle. Thread spindle into Drive Shaft.
Lightly grease phenolic washer with Cal’s Grease and drop onto drive shaft.
Work Cal’s Grease between the teeth of main drive, lightly grease the rubber-ish drag disc and assemble.

Grease drag pressure plate and fit in.
Drop in one of the 2 big copper washers.

The smear a layer of CorrosionX on roller clutch inner tube and slide down drive shaft.

Grease right sideplate cover for better corrosion resistance with Quicksilver 2-4-C Marine Grease and add a drop of CorrosionX oil into pinion cap and roller clutch bearing. Do not let grease get into roller clutch bearing as you may lose anti-reverse capability.
Mate with right sideplate cover and secure with 2 screws taking care not to over torque them. Drop a drop of CorrosionX oil to pinion spindle and attach spool ball bearing. ABU engineers had designed an excellent C-clip. This version is easy to remove and attach.
Simple mod to increase Drag Pressure
This little reel was fished with 20lb spectra, to pull dirty-fighting fish out of barnacle encrusted mangroves and oyster beds. So I decided to spoon the belleville washers to increase pressure. However, by doing so, there is less scope for adjustment. So I added a drag spring from a Calcutta 100 (the black belleville) which is a bit more curved. The part number on the packet of spares is BNT15. So by using all three this way ((C, I gain the additional pressure and some scope. In effect, it performs like a compound curve drag on a game reel. Initial turns of the star drag will add gradual drag pressure, but when you cinch down on it, the last 3 legs of the lever increases drag pressure tremendously.
With greased pads, line pays out smoothly needing hardly any breakaway force. However, it will be a wise investment to buy couple of spare main drives and pinions to have as replacement when these wear down.
Grease and drop in 2nd large copper washer.
Grease star drag and thread down drive shaft
Grease and attach spring washer with concave side facing up.
Grease handle, secure with E-clip. Thread and secure the handle nut, locking plate and screw and you’re almost done…
I polished the ends of each spool shaft till they’re mirror shiny, using a Q-tip and some Autosol Chrome Polish. Make sure you do not polish the shaft but the ends. Also do your Autosol polishing far away from the reel assembly area as the polish can grind down your reel causing premature wear and rough operation. Polish away any residue, till the there is no black marks on buffing cloth. Then wash thoroughly with soap and water.
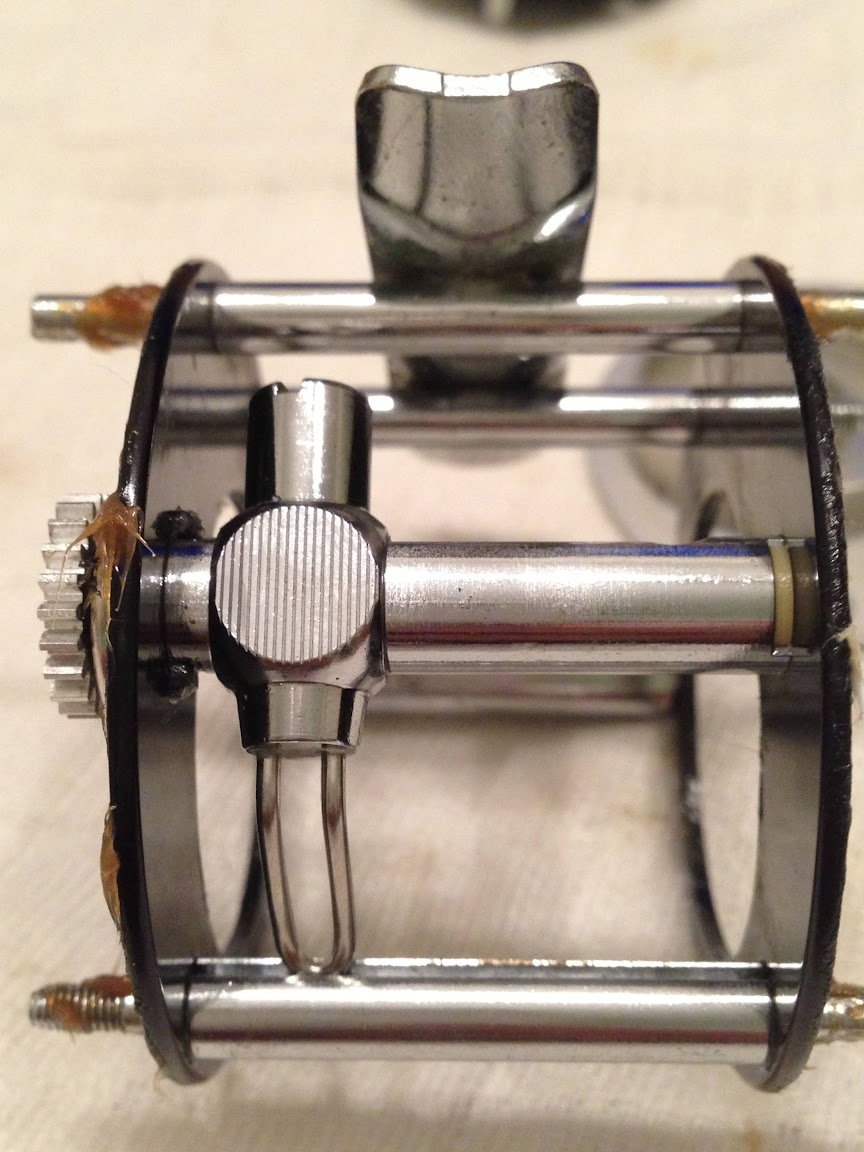
The Completed Reel
So here’s the finished reel. It spins freely on its bearings, drag is smooth and stronger and it no longer cranks like a pepper grinder. But wait! I forgot to put in the 2 centrifugal brake pellets! hehehe, wicked thoughts! Don’t they teach you to always keep your thumb on the spool flange anymore?
Hope this can help you service your own reel.
LL
I hope this step-by-step guide helped you in servicing your own reel too. If you found this useful, please click the blue LIKE and FOLLOW buttons. If you would like me to help you service your reel, or if you would like to help me with the cost of keeping this blog running, please drop me a message via WhatsApp at +65-9431-0400. Thank You!
Text and Images © Lawrence Lee
All Rights Reserved
If you want to use any content for your own publication, please write me @ Lee.TC.Lawrence@gmail.com

This is a really excellent post: thanks so much for doing it.
I have recently started work on my (silver) 2500C, and two queries:
1) your reel does not seem to have an anti-reverse dog, which other 2500Cs have?
2) amid the ample grease, it is very hard to work out which way around the pinion yoke goes on the gear: curved side inwards, or out?
Thanks again
This reel has an Instant Antireverse, which is a one-way clutch roller bearing.
An absolutely excellent review! I’m starting a brand-new project on a 2500 C, it’s my first time doing it and this has massively helped! The question is, do you have any more ‘how to’s’ regarding working with the 2500 C. Thank you!!!
Glad it helped you, Luke!
I know this is an old post, but thought I’d give you complements on your write-up.
There is one thing you might try if you friend ever asks you to service the reel again – try the ceramic level=wind pawl, which i sourced from Mike’s Reel Repair. I bought about a dozen some three years about and replaced all the pawls in my Abu1500/1600’s and 2500’s. to me they’ve made a significant improvement.
Thanks for your kind comments Charles. Yes, Mike’s reel repair is an excellent source for Ambassadeur parts.